Caution
This plugin is in alpha stage and is not recommended for production instance
It's configuration might change in future releases
The plugin allows users to configure PostgreSQL for storing fingerprints.
Another plugin which supports storing fingerprints externally, but inside Redis instances is also available. Consider trying it out too! It is much more stable than this plugin at the moment, and also supports fingerprint cleanup, which is currently unsupported in this plugin.
Clone the repository
git clone https://github.com/jenkinsci/postgresql-fingerprint-storage-plugin
cd postgresql-fingerprint-storage-plugin
To obtain the postgresql-fingerprint-storage.hpi and postgresql-fingerprint-storage.jar files, run: mvn clean install
They will be available inside ./plugin/target. (Note that docker is required for running tests. If Docker is not installed, consider skipping tests)
To run the plugin on a local instance, run:
cd plugin mvn hpi:run
Once the plugin has been installed, you can configure the PostgreSQL server details by following the steps below:
Ensure you have PostgreSQL as global database. Plugin will not work for other database engine.
- Select
Manage Jenkins - Select
Configure System
- Save the config
- Scroll to the section
Fingerprints - Select
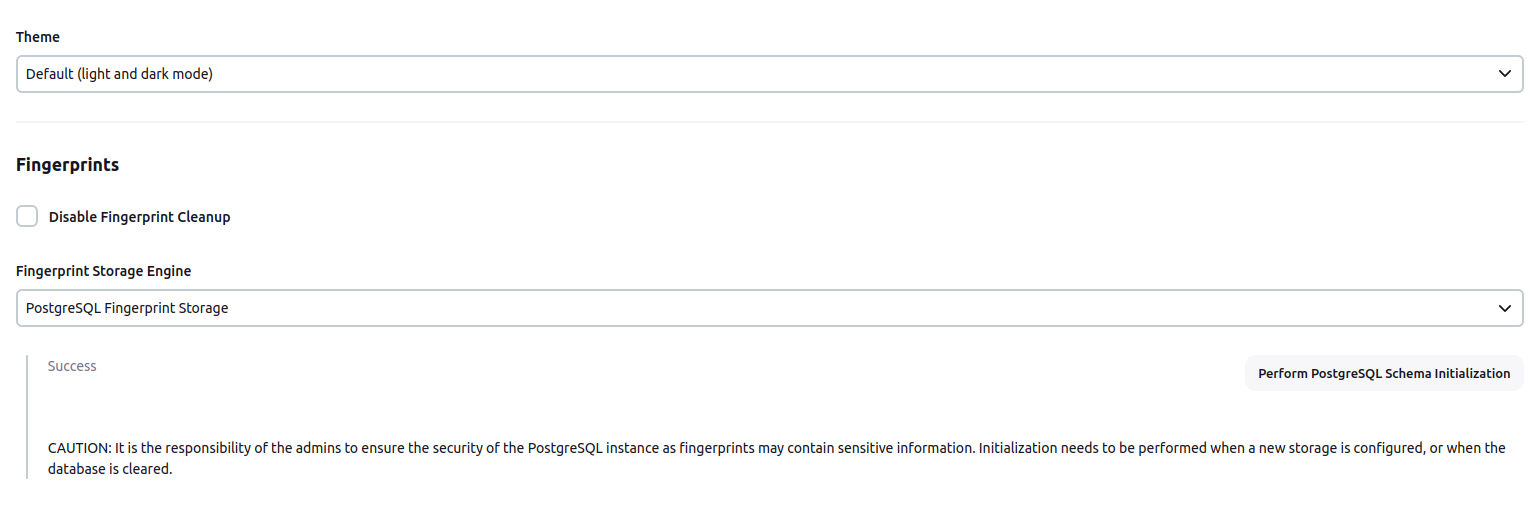
PostgreSQL Fingerprint Storagefrom the dropdown for Fingerprint Storage Engine and fill in the required details:
- Use the
Test PostgreSQL Connectionto verify that the details are correct and Jenkins is able to connect to the PostgreSQL instance. - [IMPORTANT] When configuring the plugin for the first time, it is highly important to press the
Perform PostgreSQL Schema Initializationbutton. The button can also be used in the case the database is wiped out and schema needs to be recreated. - Press the
Savebutton. - Now, all the fingerprints produced by this Jenkins instance should be saved in the configured PostgreSQL server!
The plugin can also be configured using the configuration as code plugin
A sample YAML file is provided below for configuring this plugin using JCasC:
unclassified:
  fingerprints:
    storage:
      postgreSQL:
        host: "localhost"
        port: 6379
        ssl: false
        databaseName: 0
        connectionTimeout: 3000
        socketTimeout: 3000
        credentialsId: "foo"
Feel free to reach out to us for any questions, feedback, etc. on the project’s Gitter Channel or the Jenkins Developer Mailing list
We use Jenkins Jira to track issues. Feel free to file issues under postgresql-fingerprint-storage-plugin component.


