Nutanix Calm Jenkins plugin allows you to launch Nutanix Calm blueprint, provision infrastructure, and services in a multi cloud environment and subsequently run actions/tasks on those applications.
- All source code is licensed under the MIT license.
- Jenkins versions: 2.235.1, 2.263.1 and 2.303.3
- Nutanix Calm version: 3.5.0
- Google Chrome version: 102.0.5005.115 (Official Build) (64-bit)
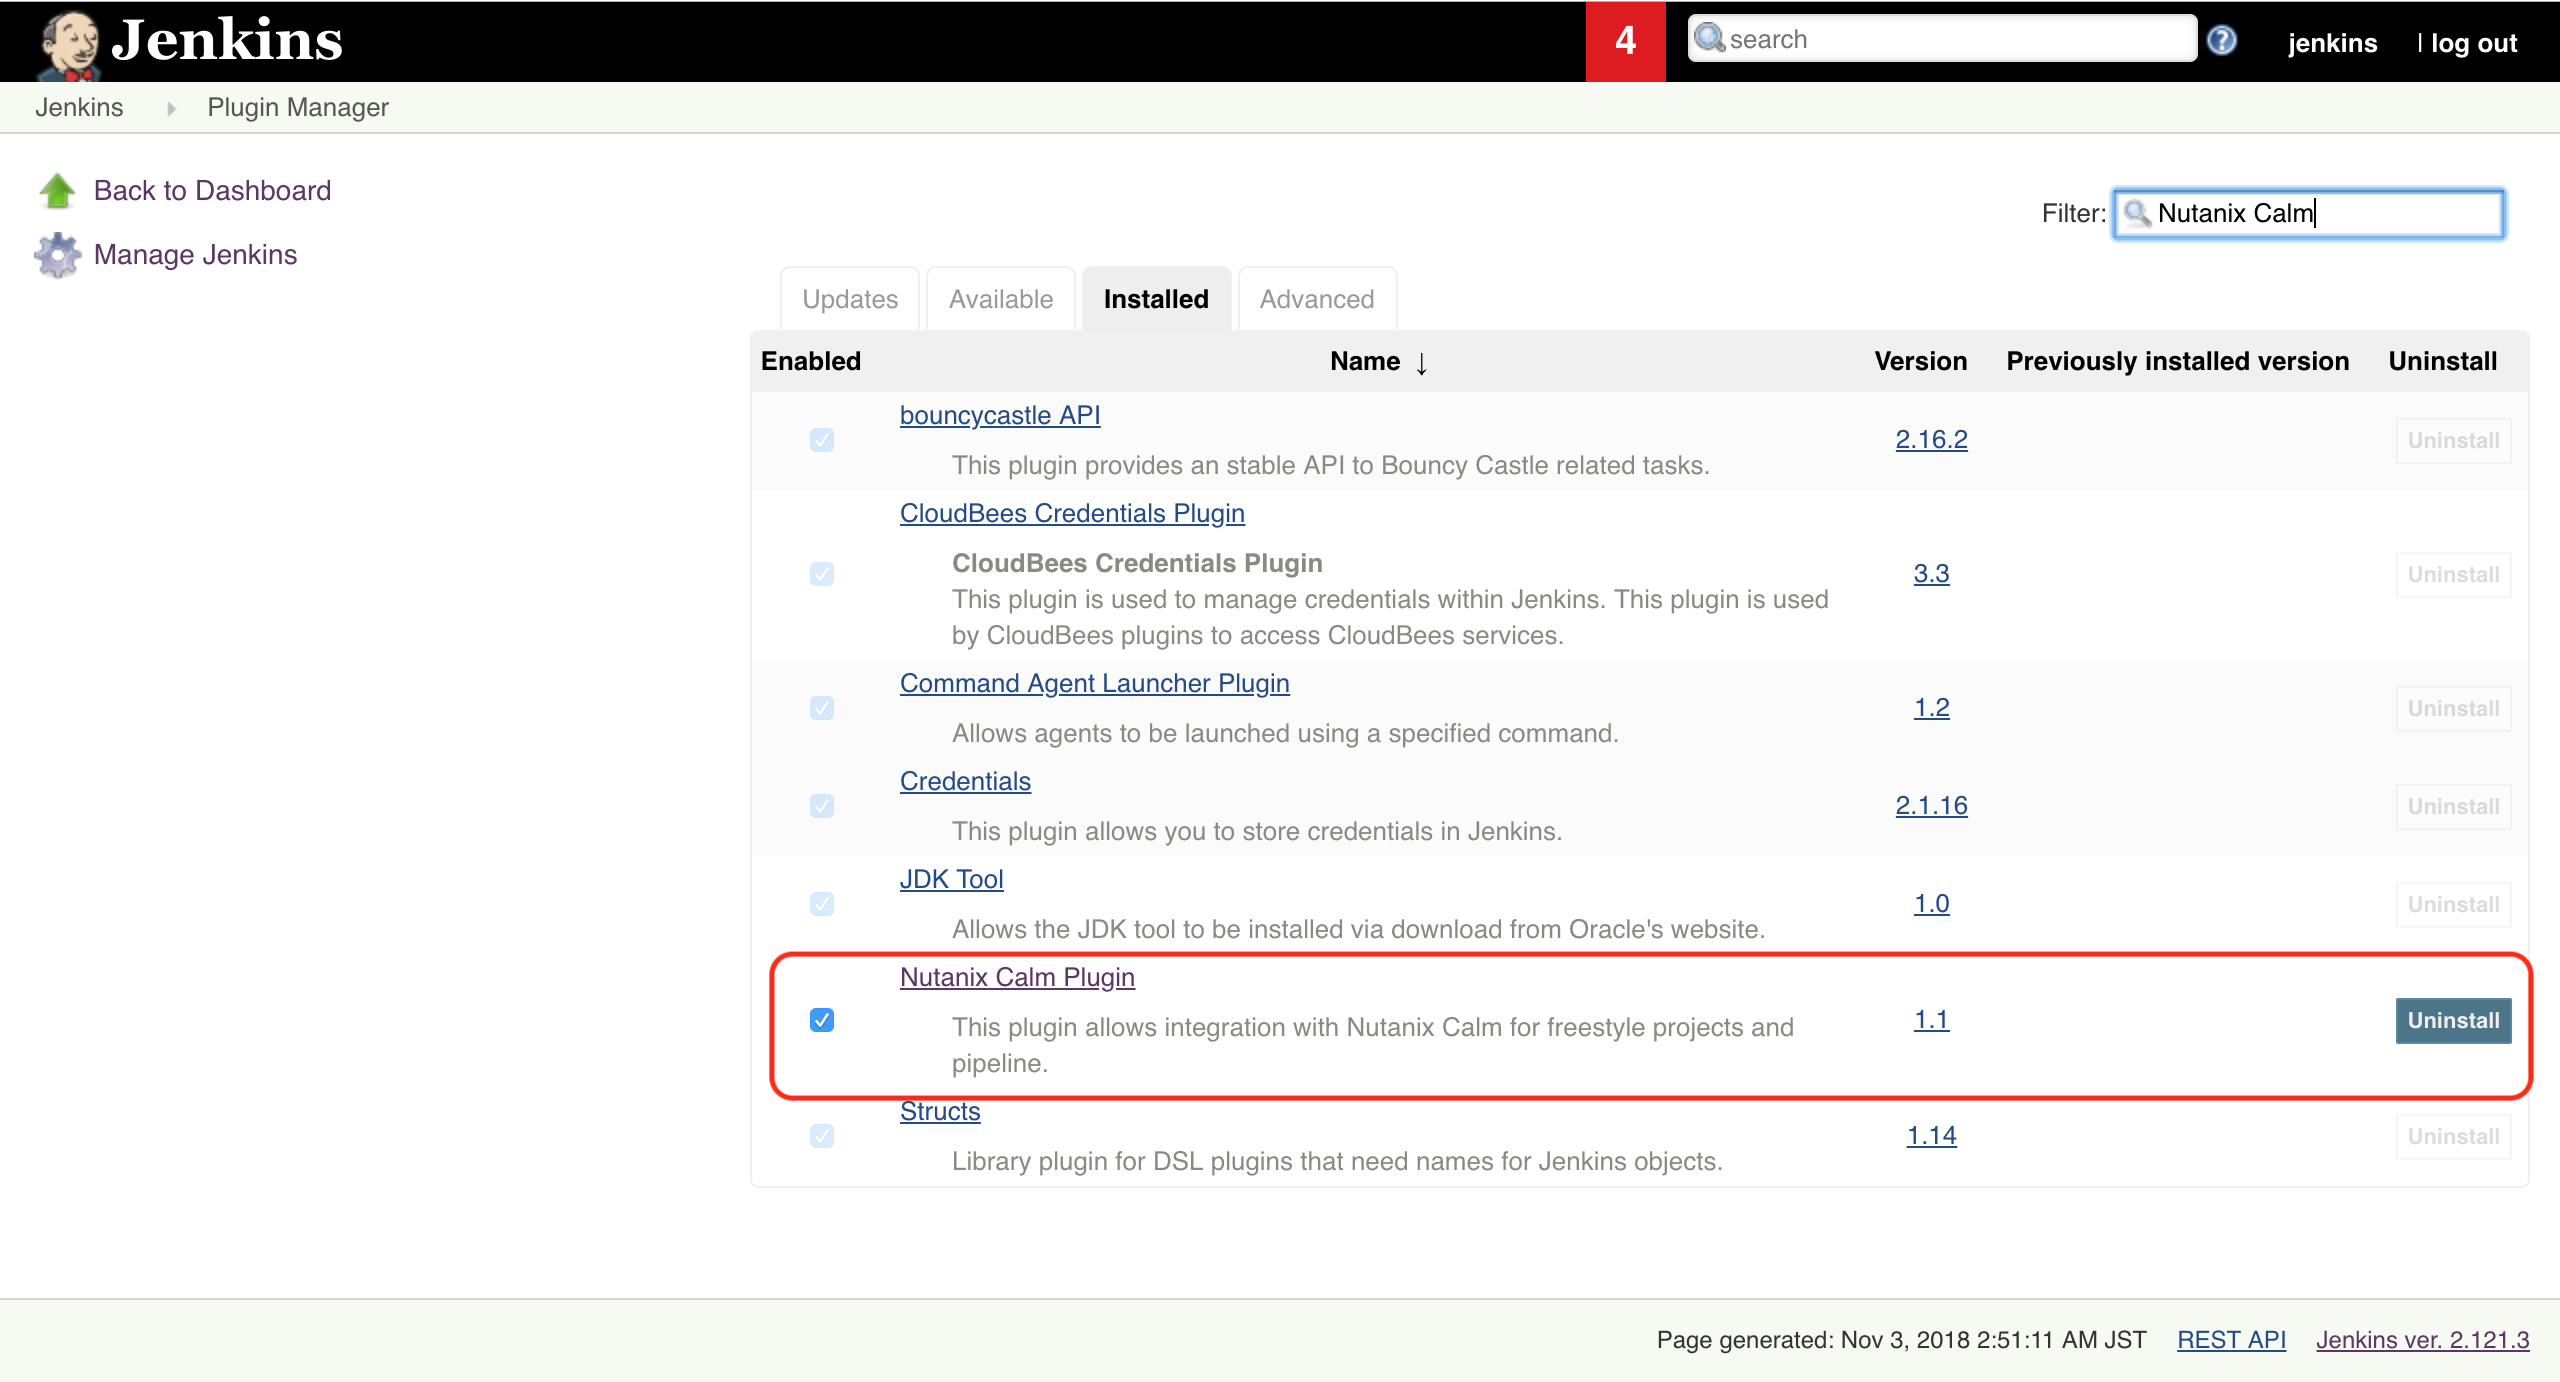
- Navigate to Manage Jenkins→ Manage Plugins → Available. Search for Nutanix Calm.
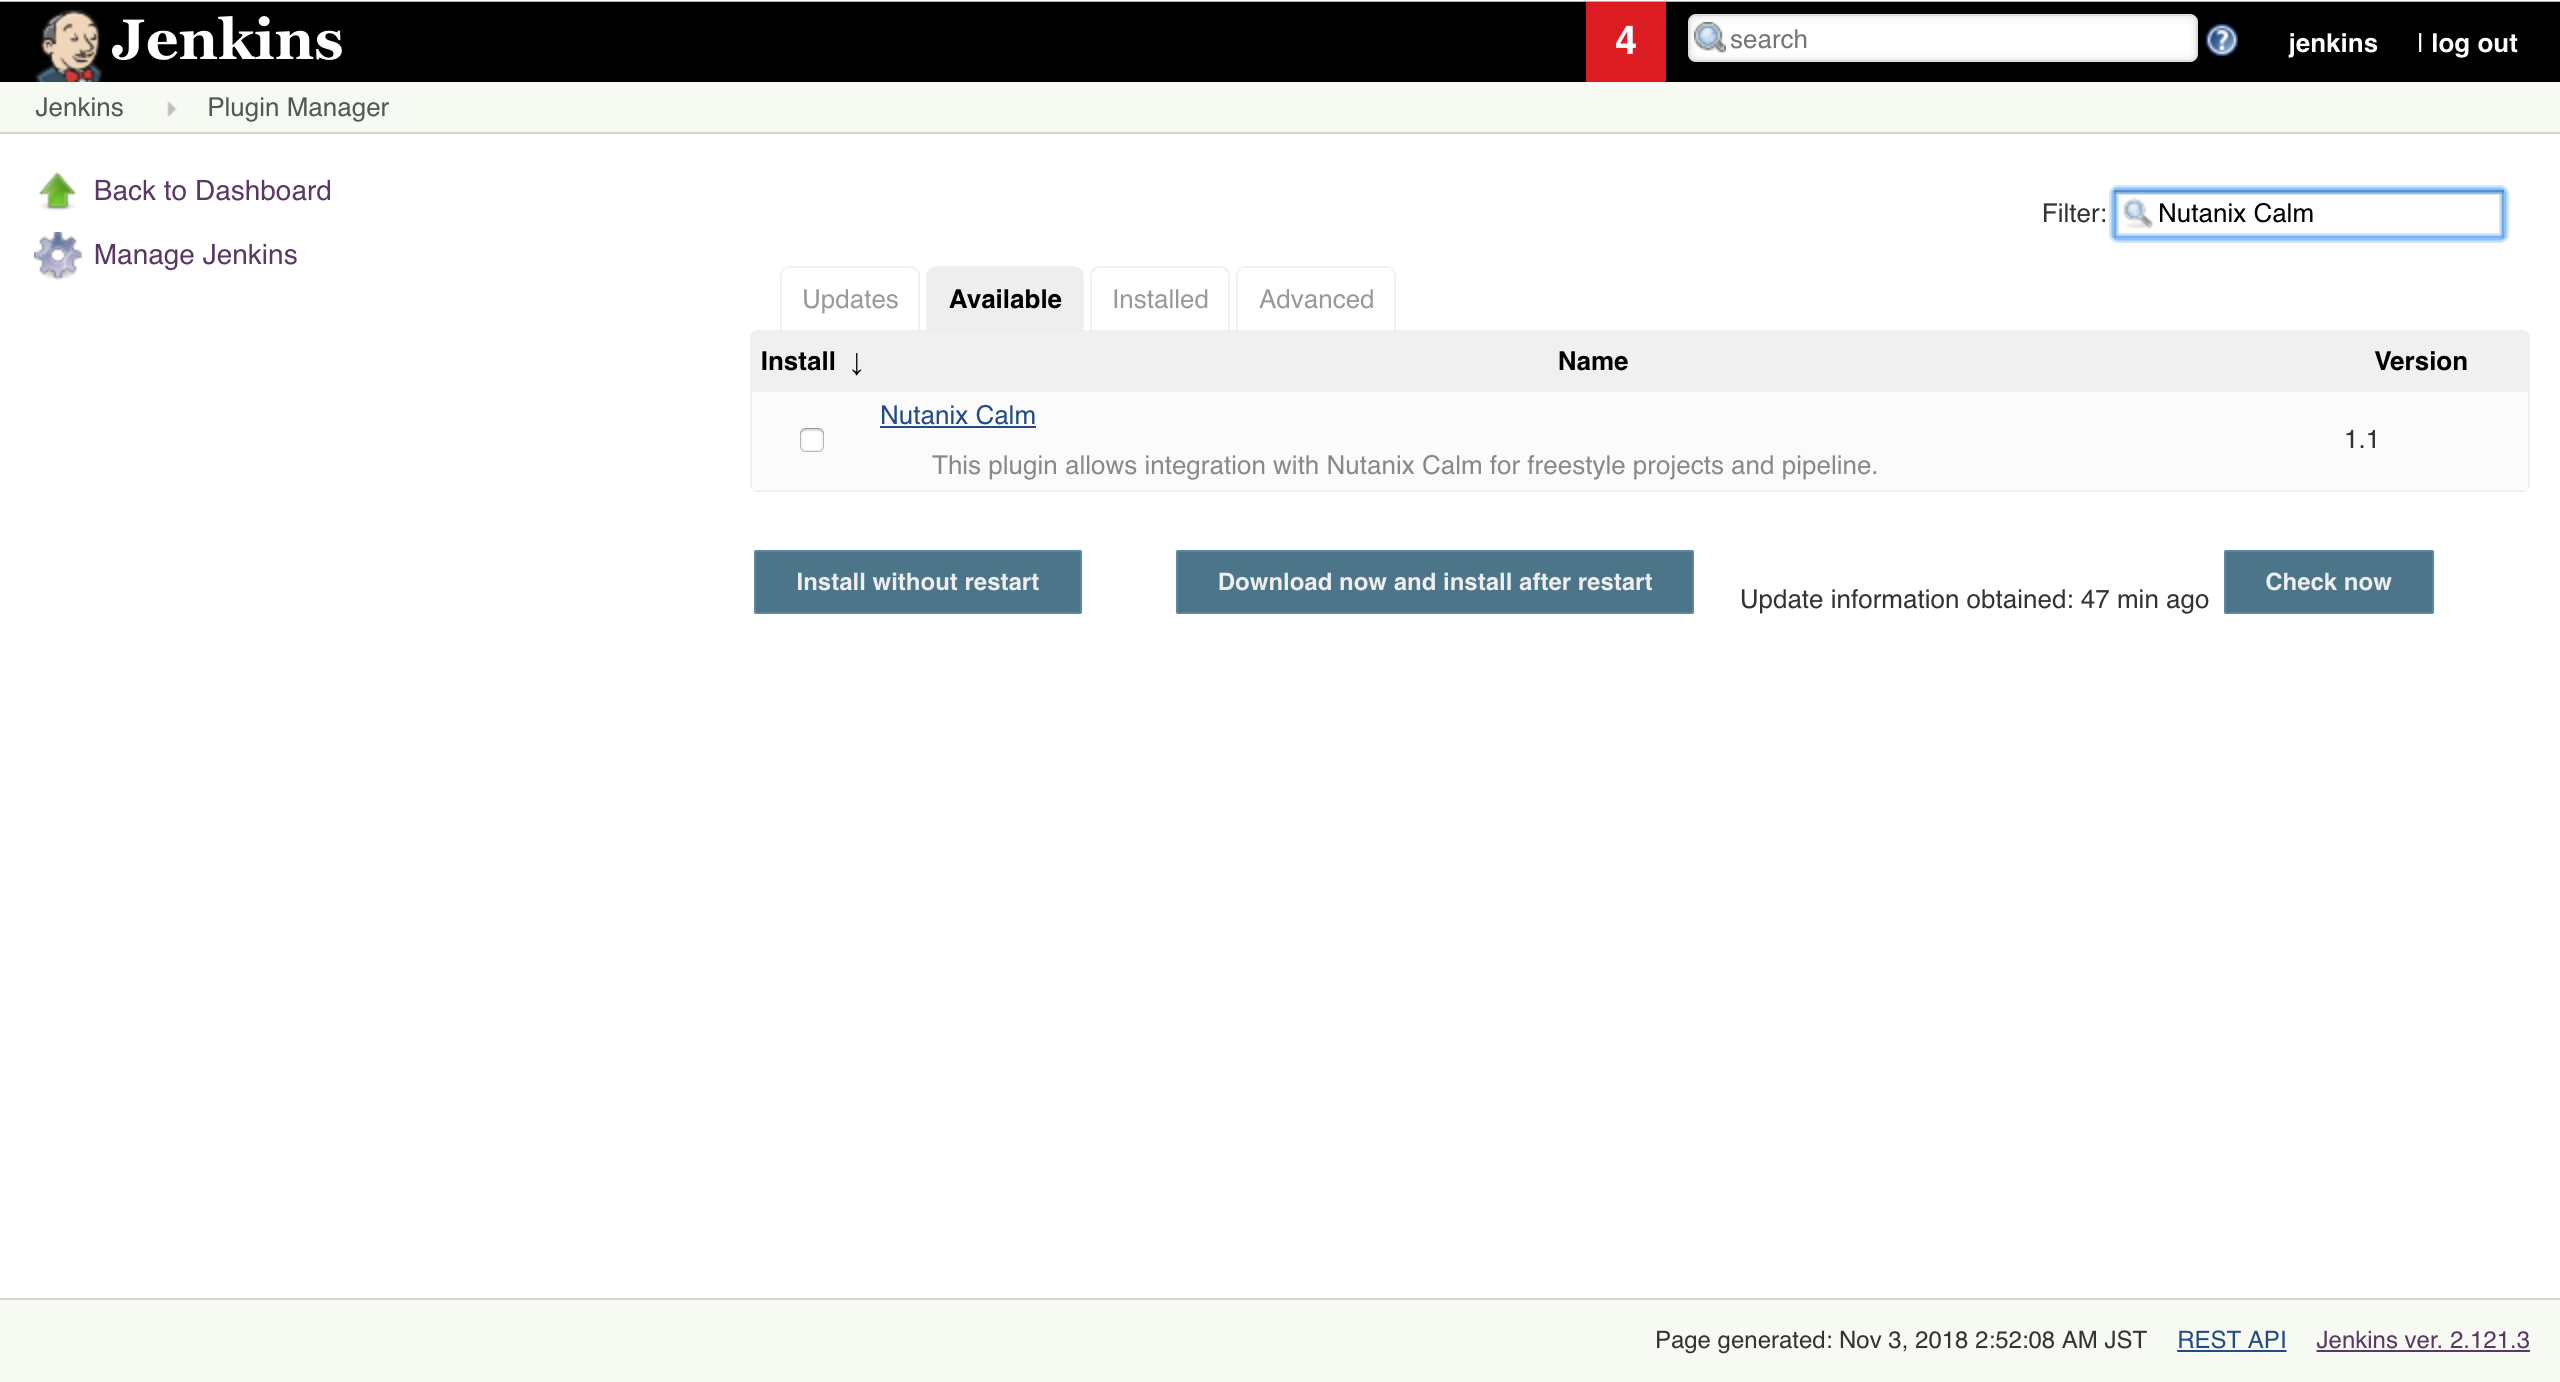
- To verify that the Nutanix Calm plug-in is successfully installed, click Manage Jenkins→ Manage Plugins→ Installed search for Nutanix Calm plugin.
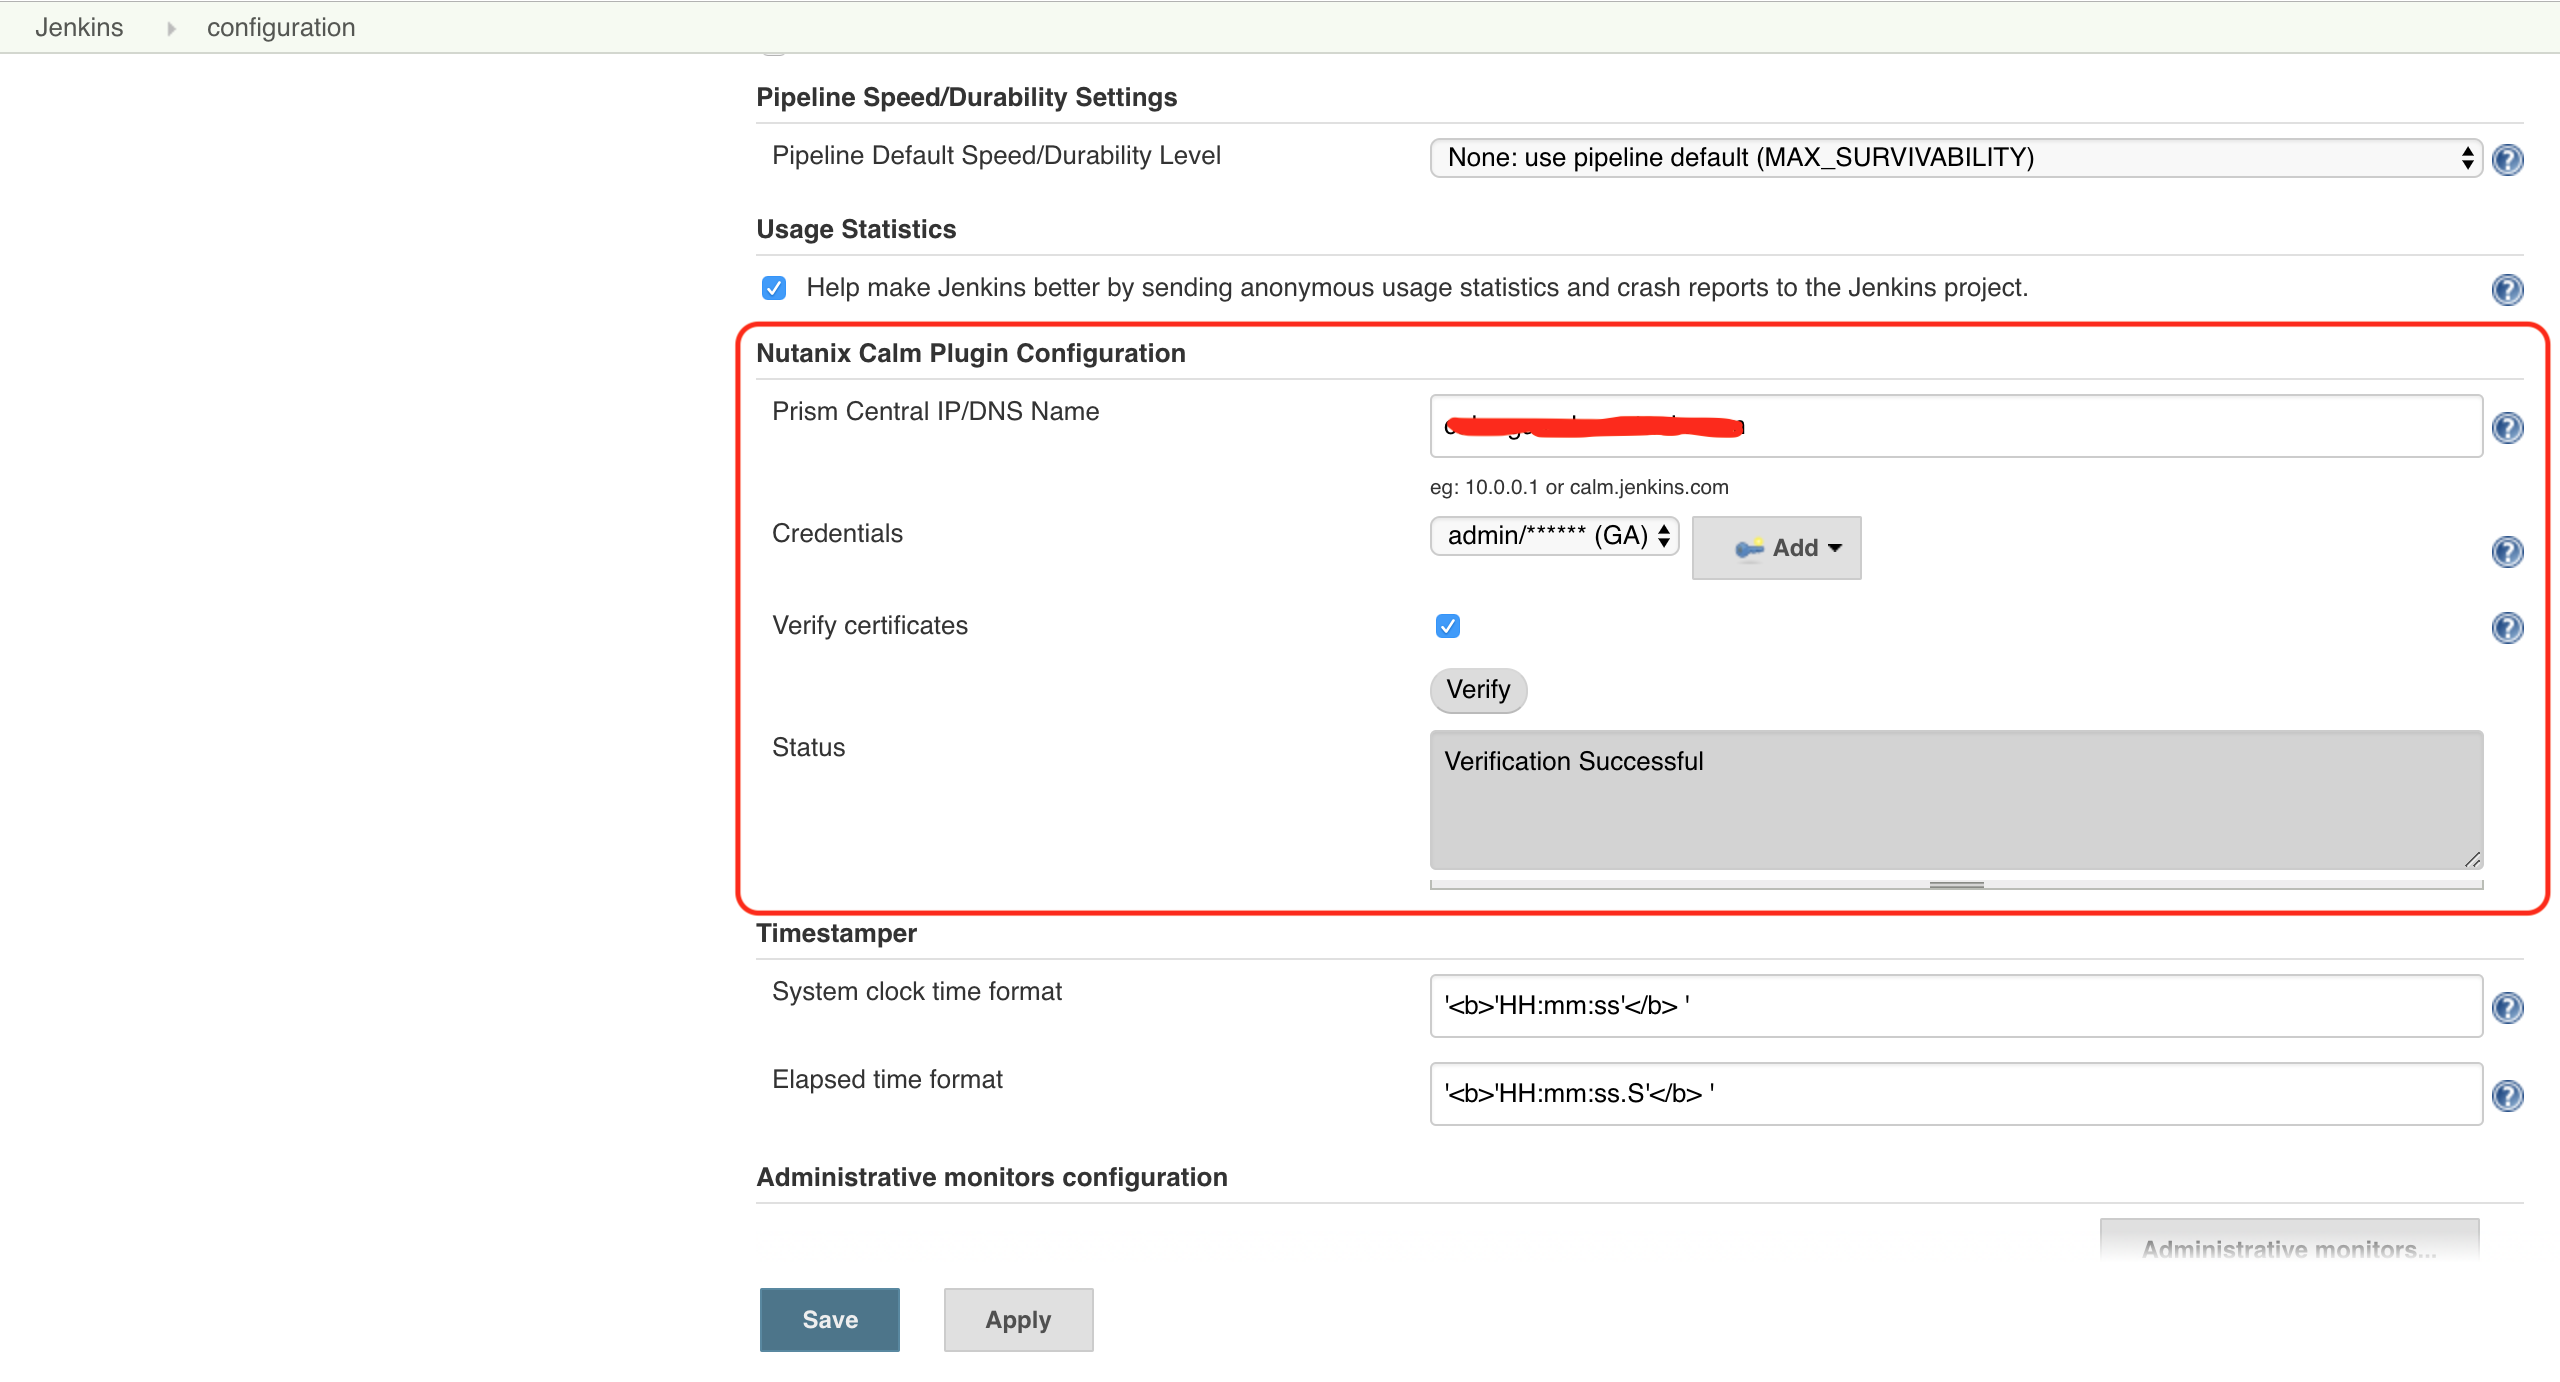
- To configure the plugin first Navigate to Manage Jenkins -> Configure System -> Nutanix Calm Plugin Configuration. Provide the Prism Central IP/DNS Name, Username and Password.
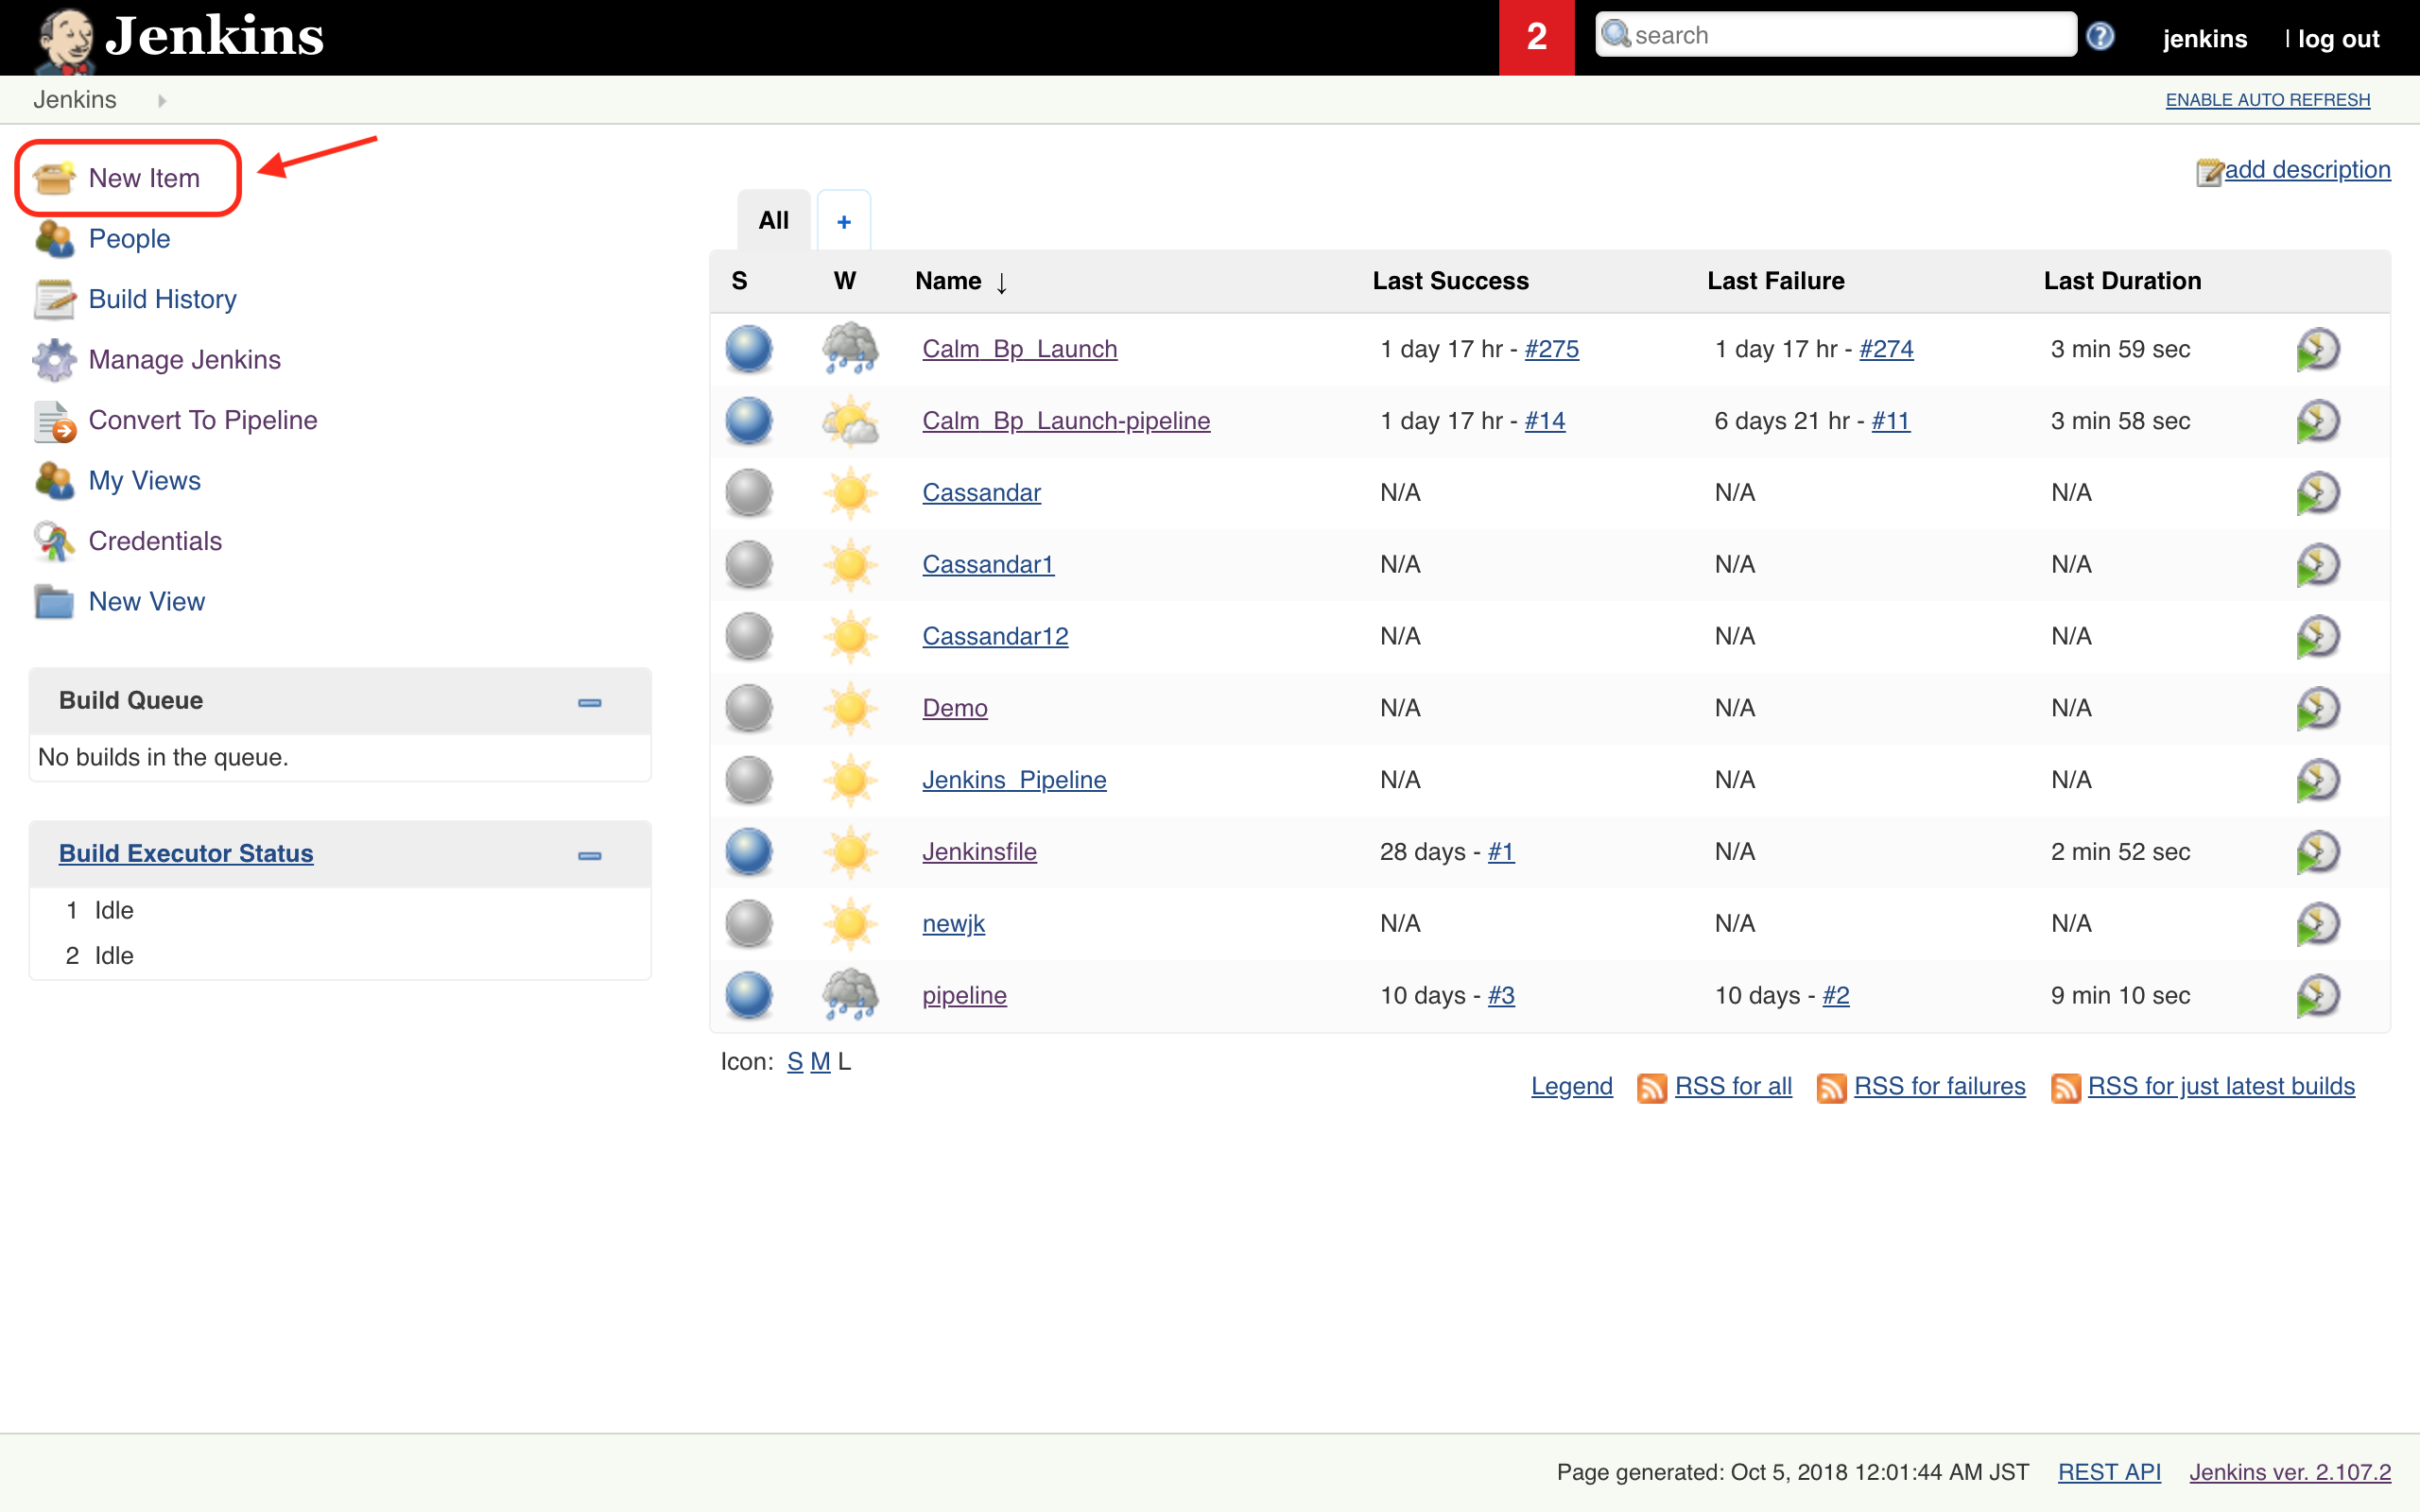
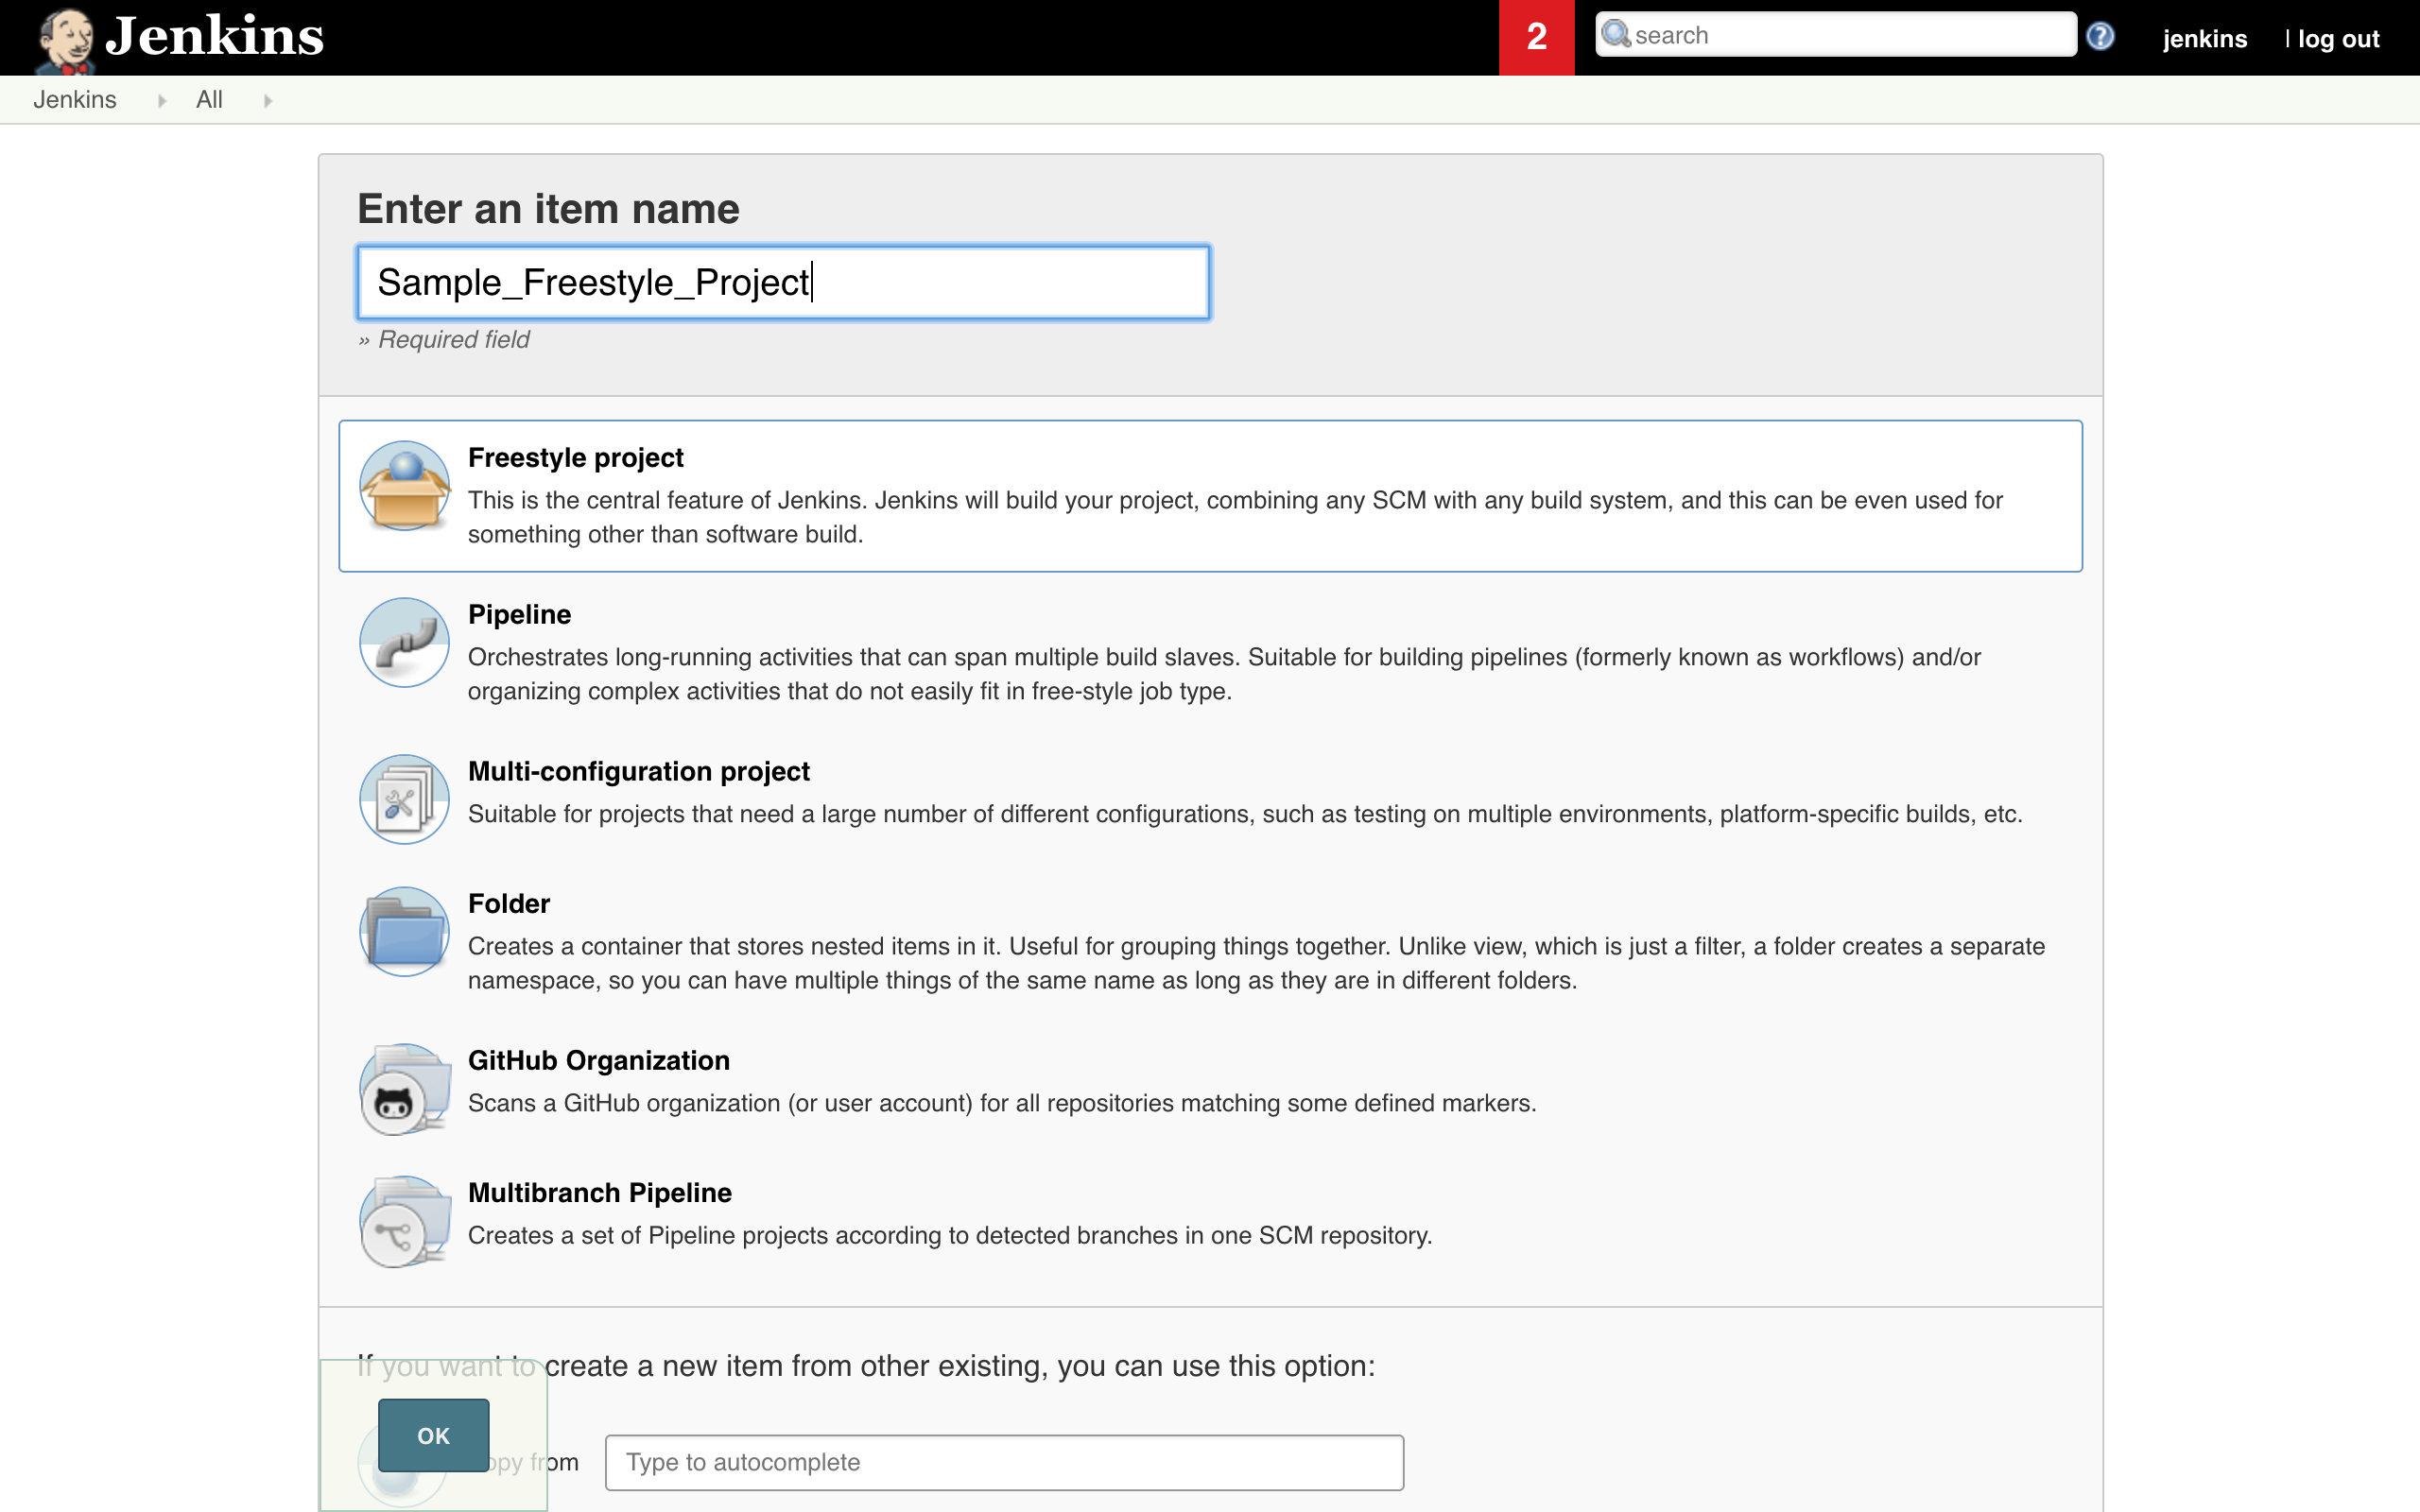
- Click on New Item.Select Freestyle project. Enter an item name. Click OK.
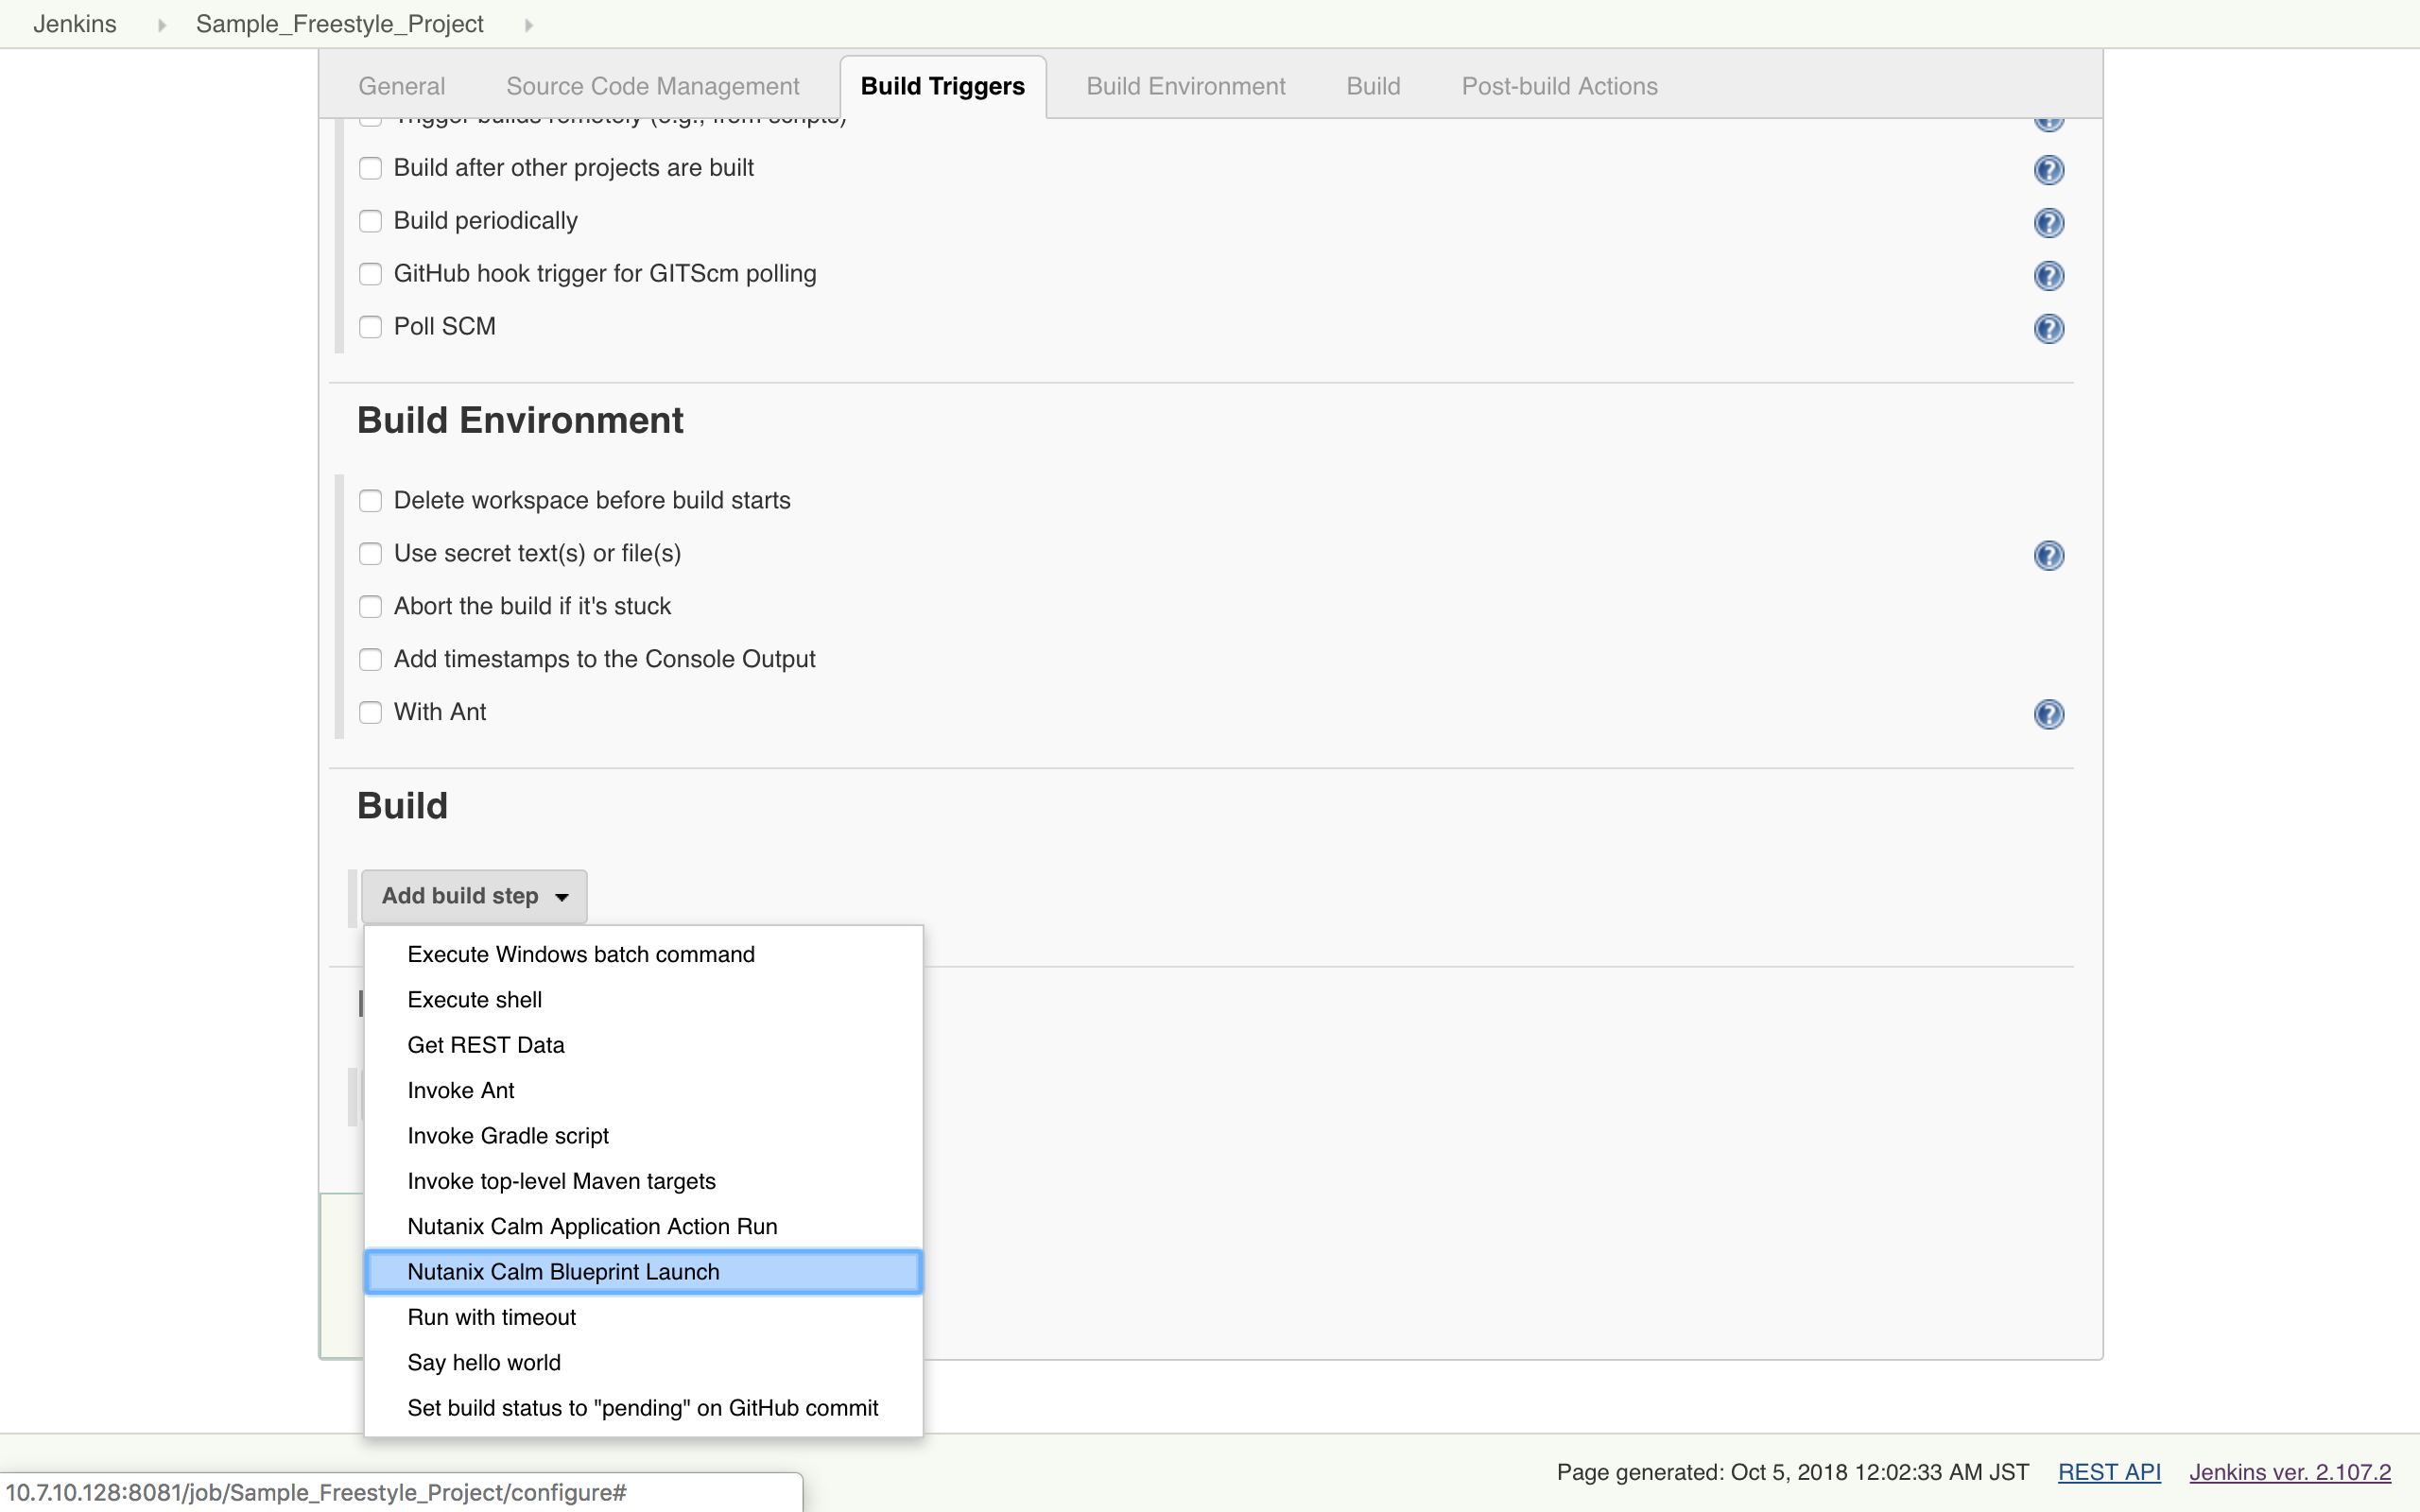
- Click on Add Build step. Select Nutanix Calm Blueprint Launch.
- In the section
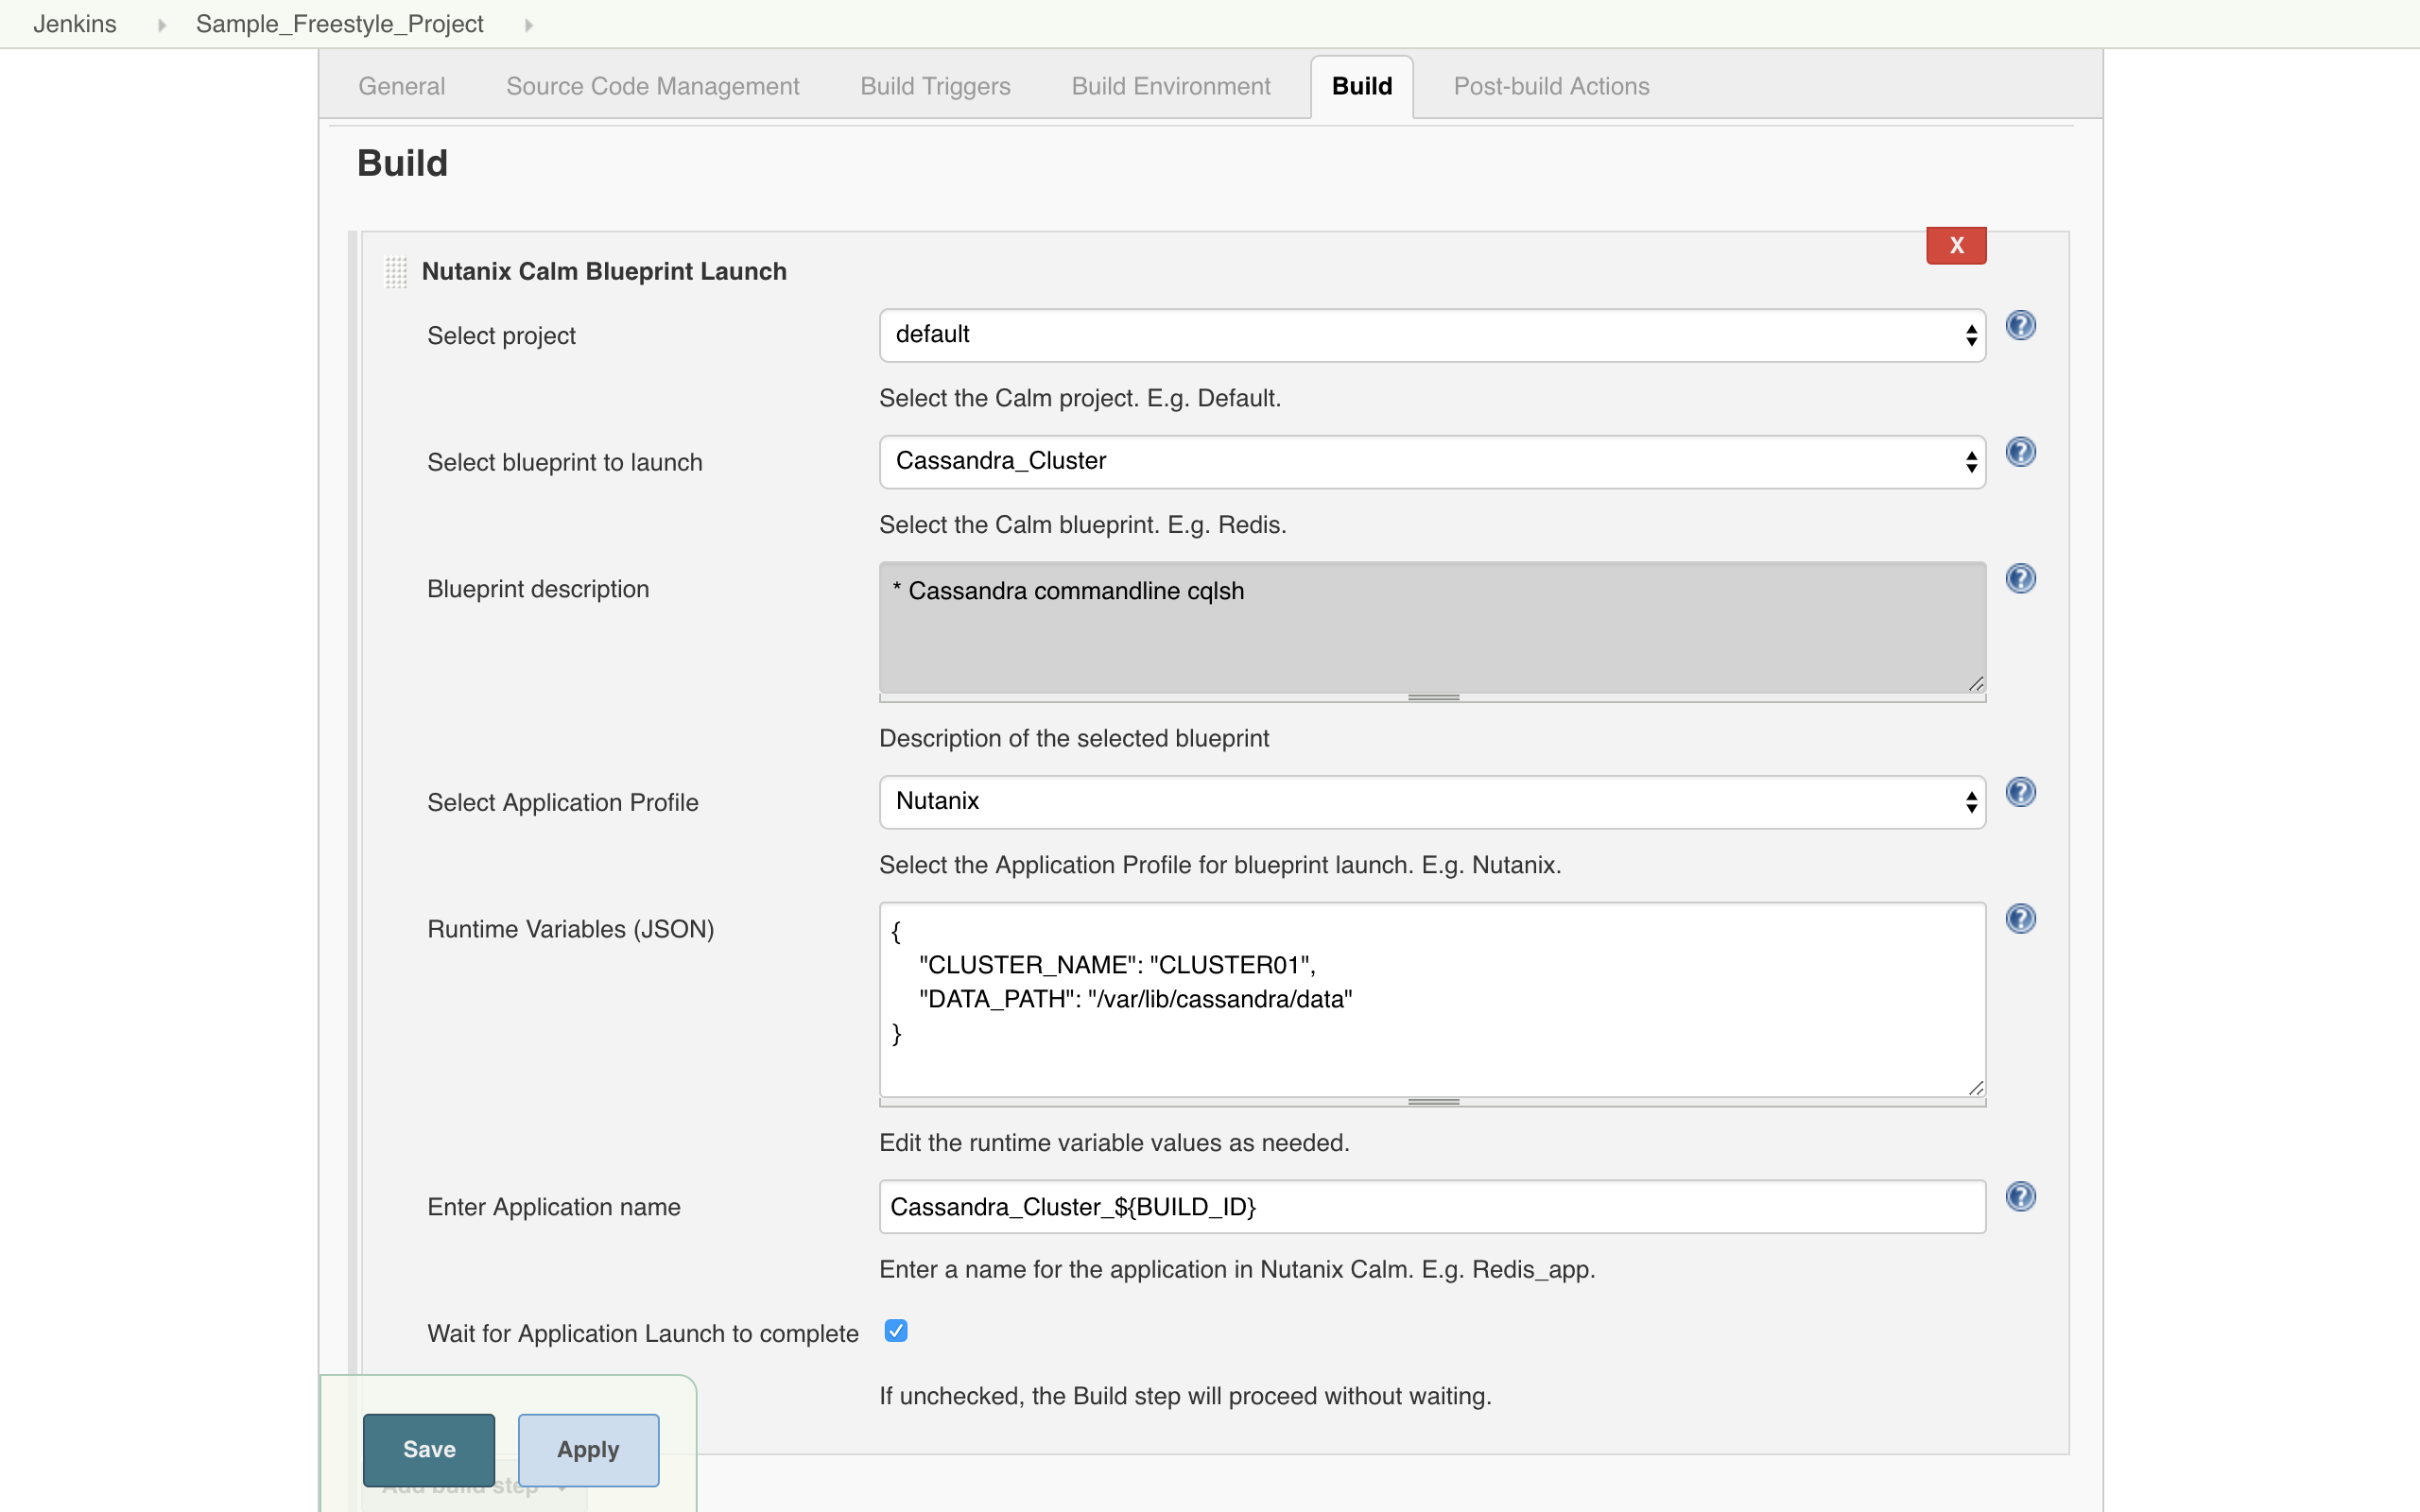
- Select the Calm project.
- Select the Blueprint to launch. Blueprint description is fetched and displayed.
- Select the Application profile.
- Modify the values for runtime variables available for that application profile.
- Provide an application name. BUILD_ID is appended by default to the application name to uniquely identify it in Calm.
- Select the option if you want Jenkins job to wait for blueprint launch to complete before proceeding to the next step.
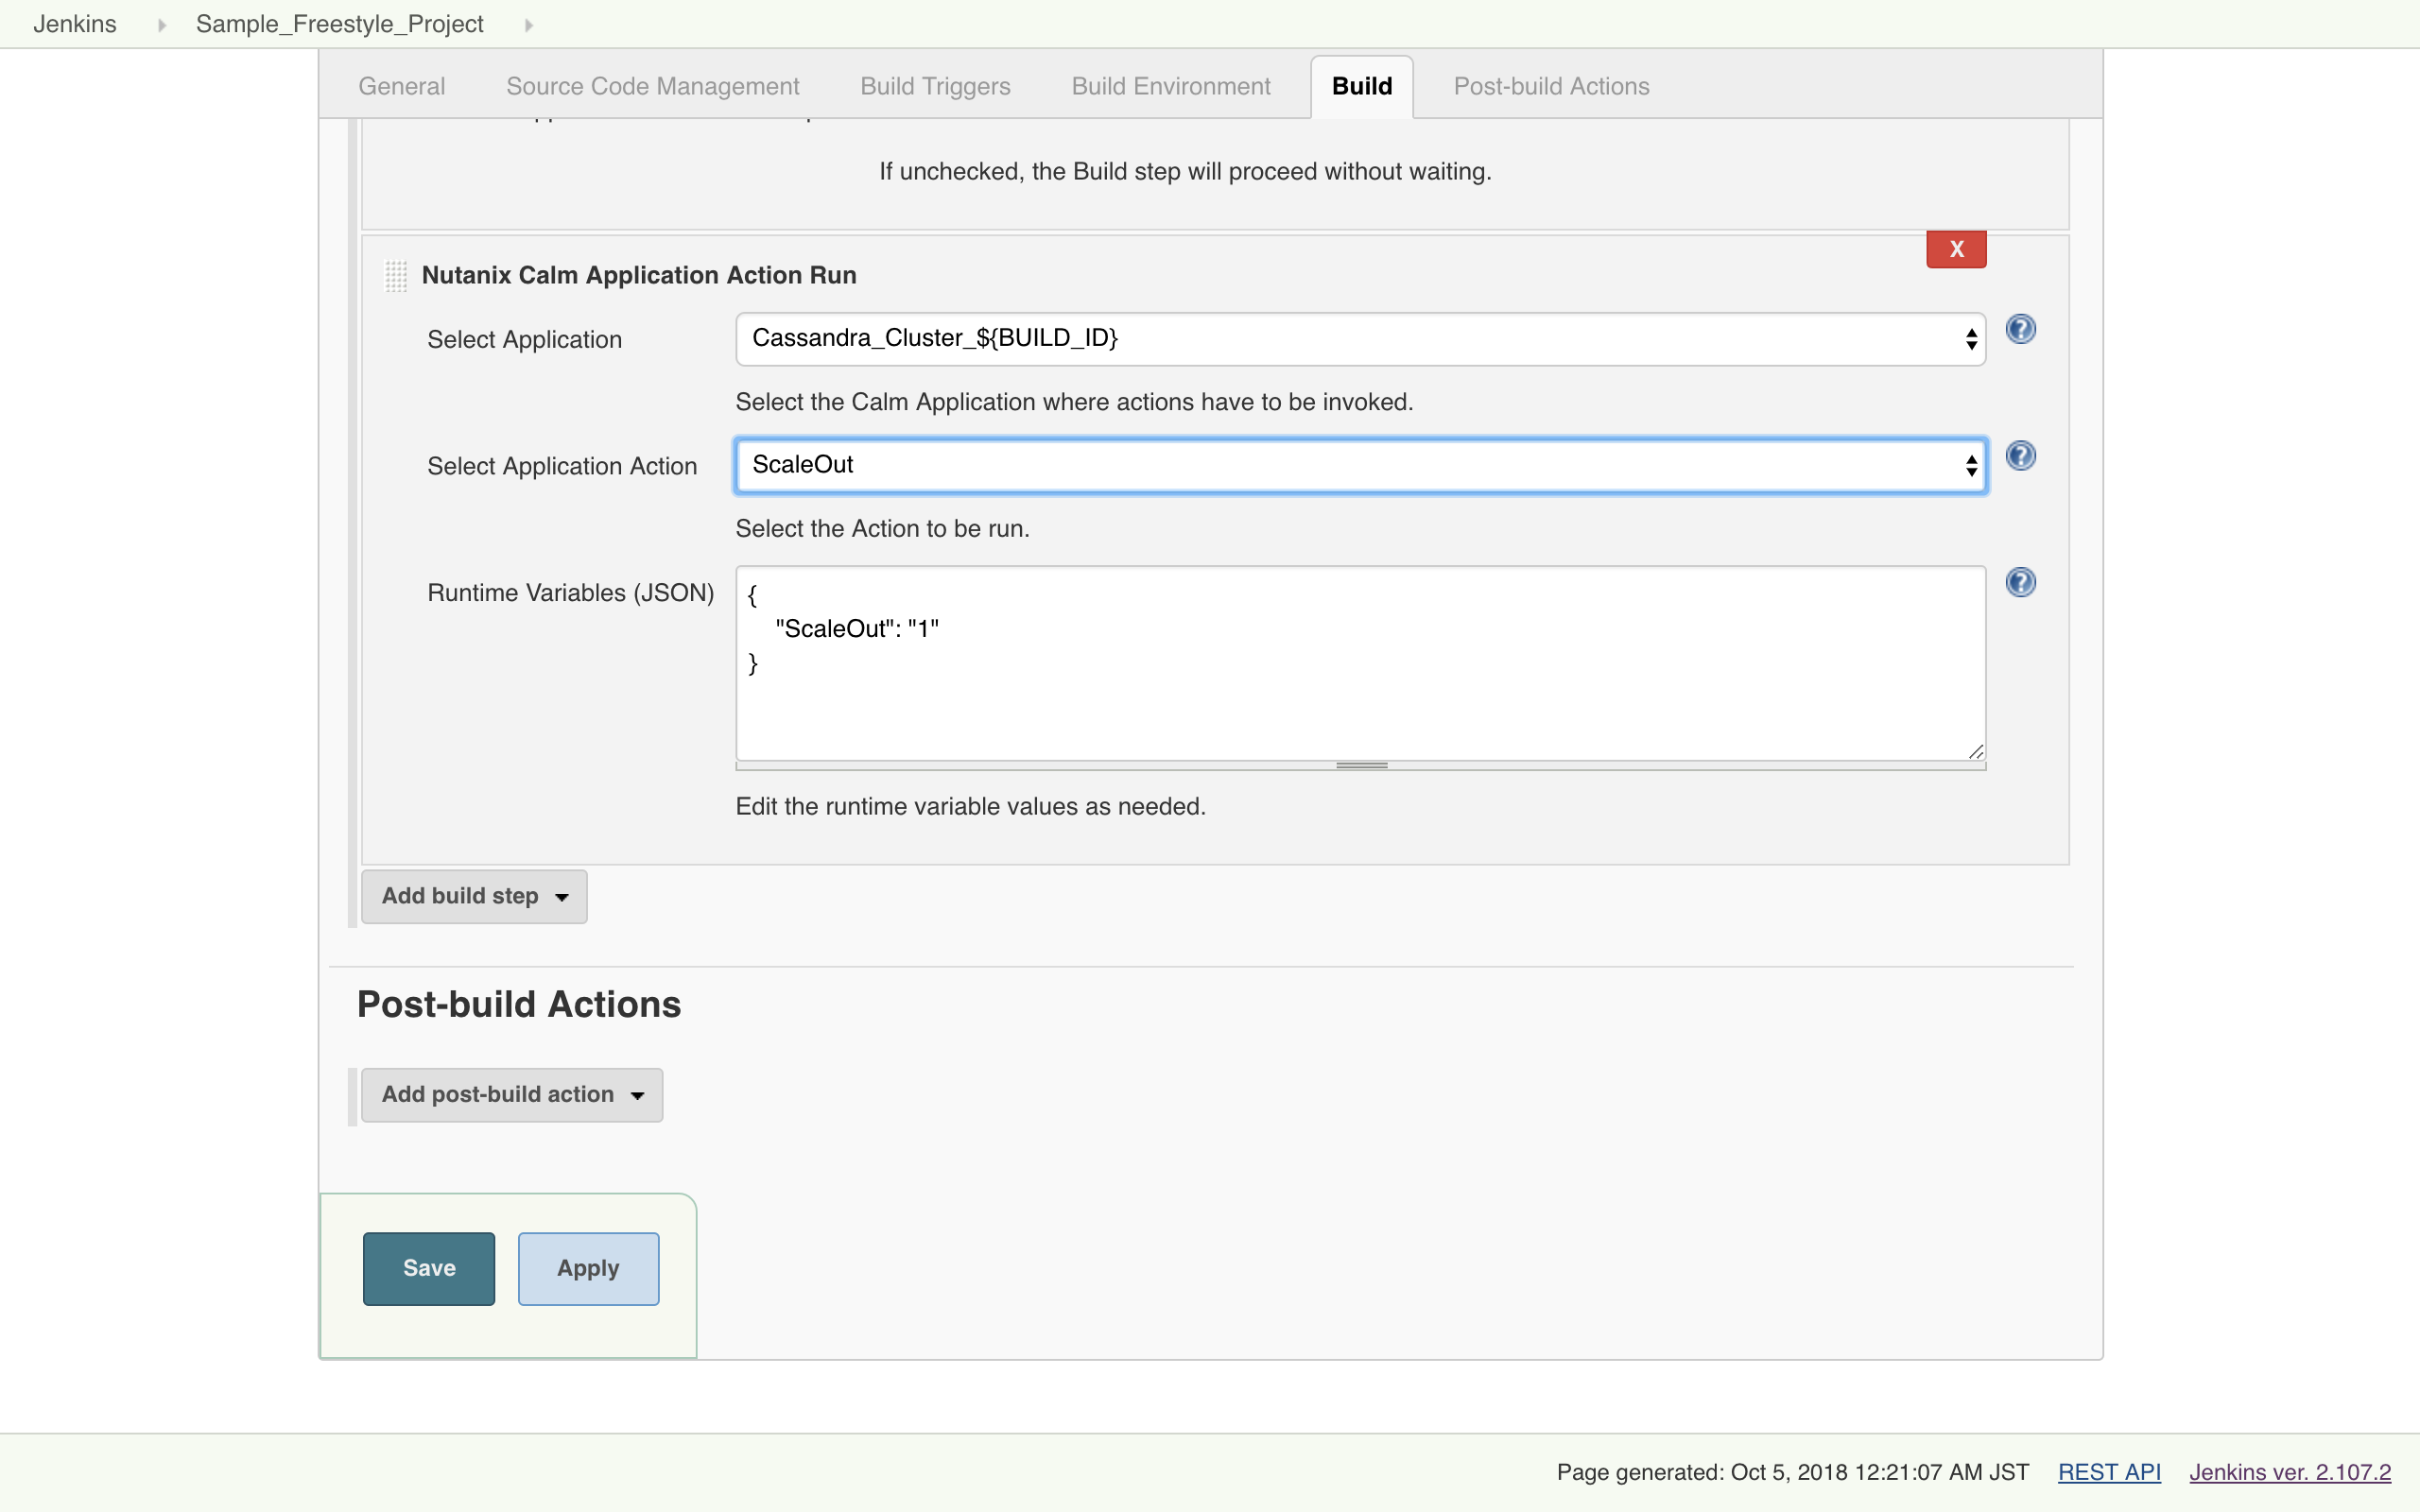
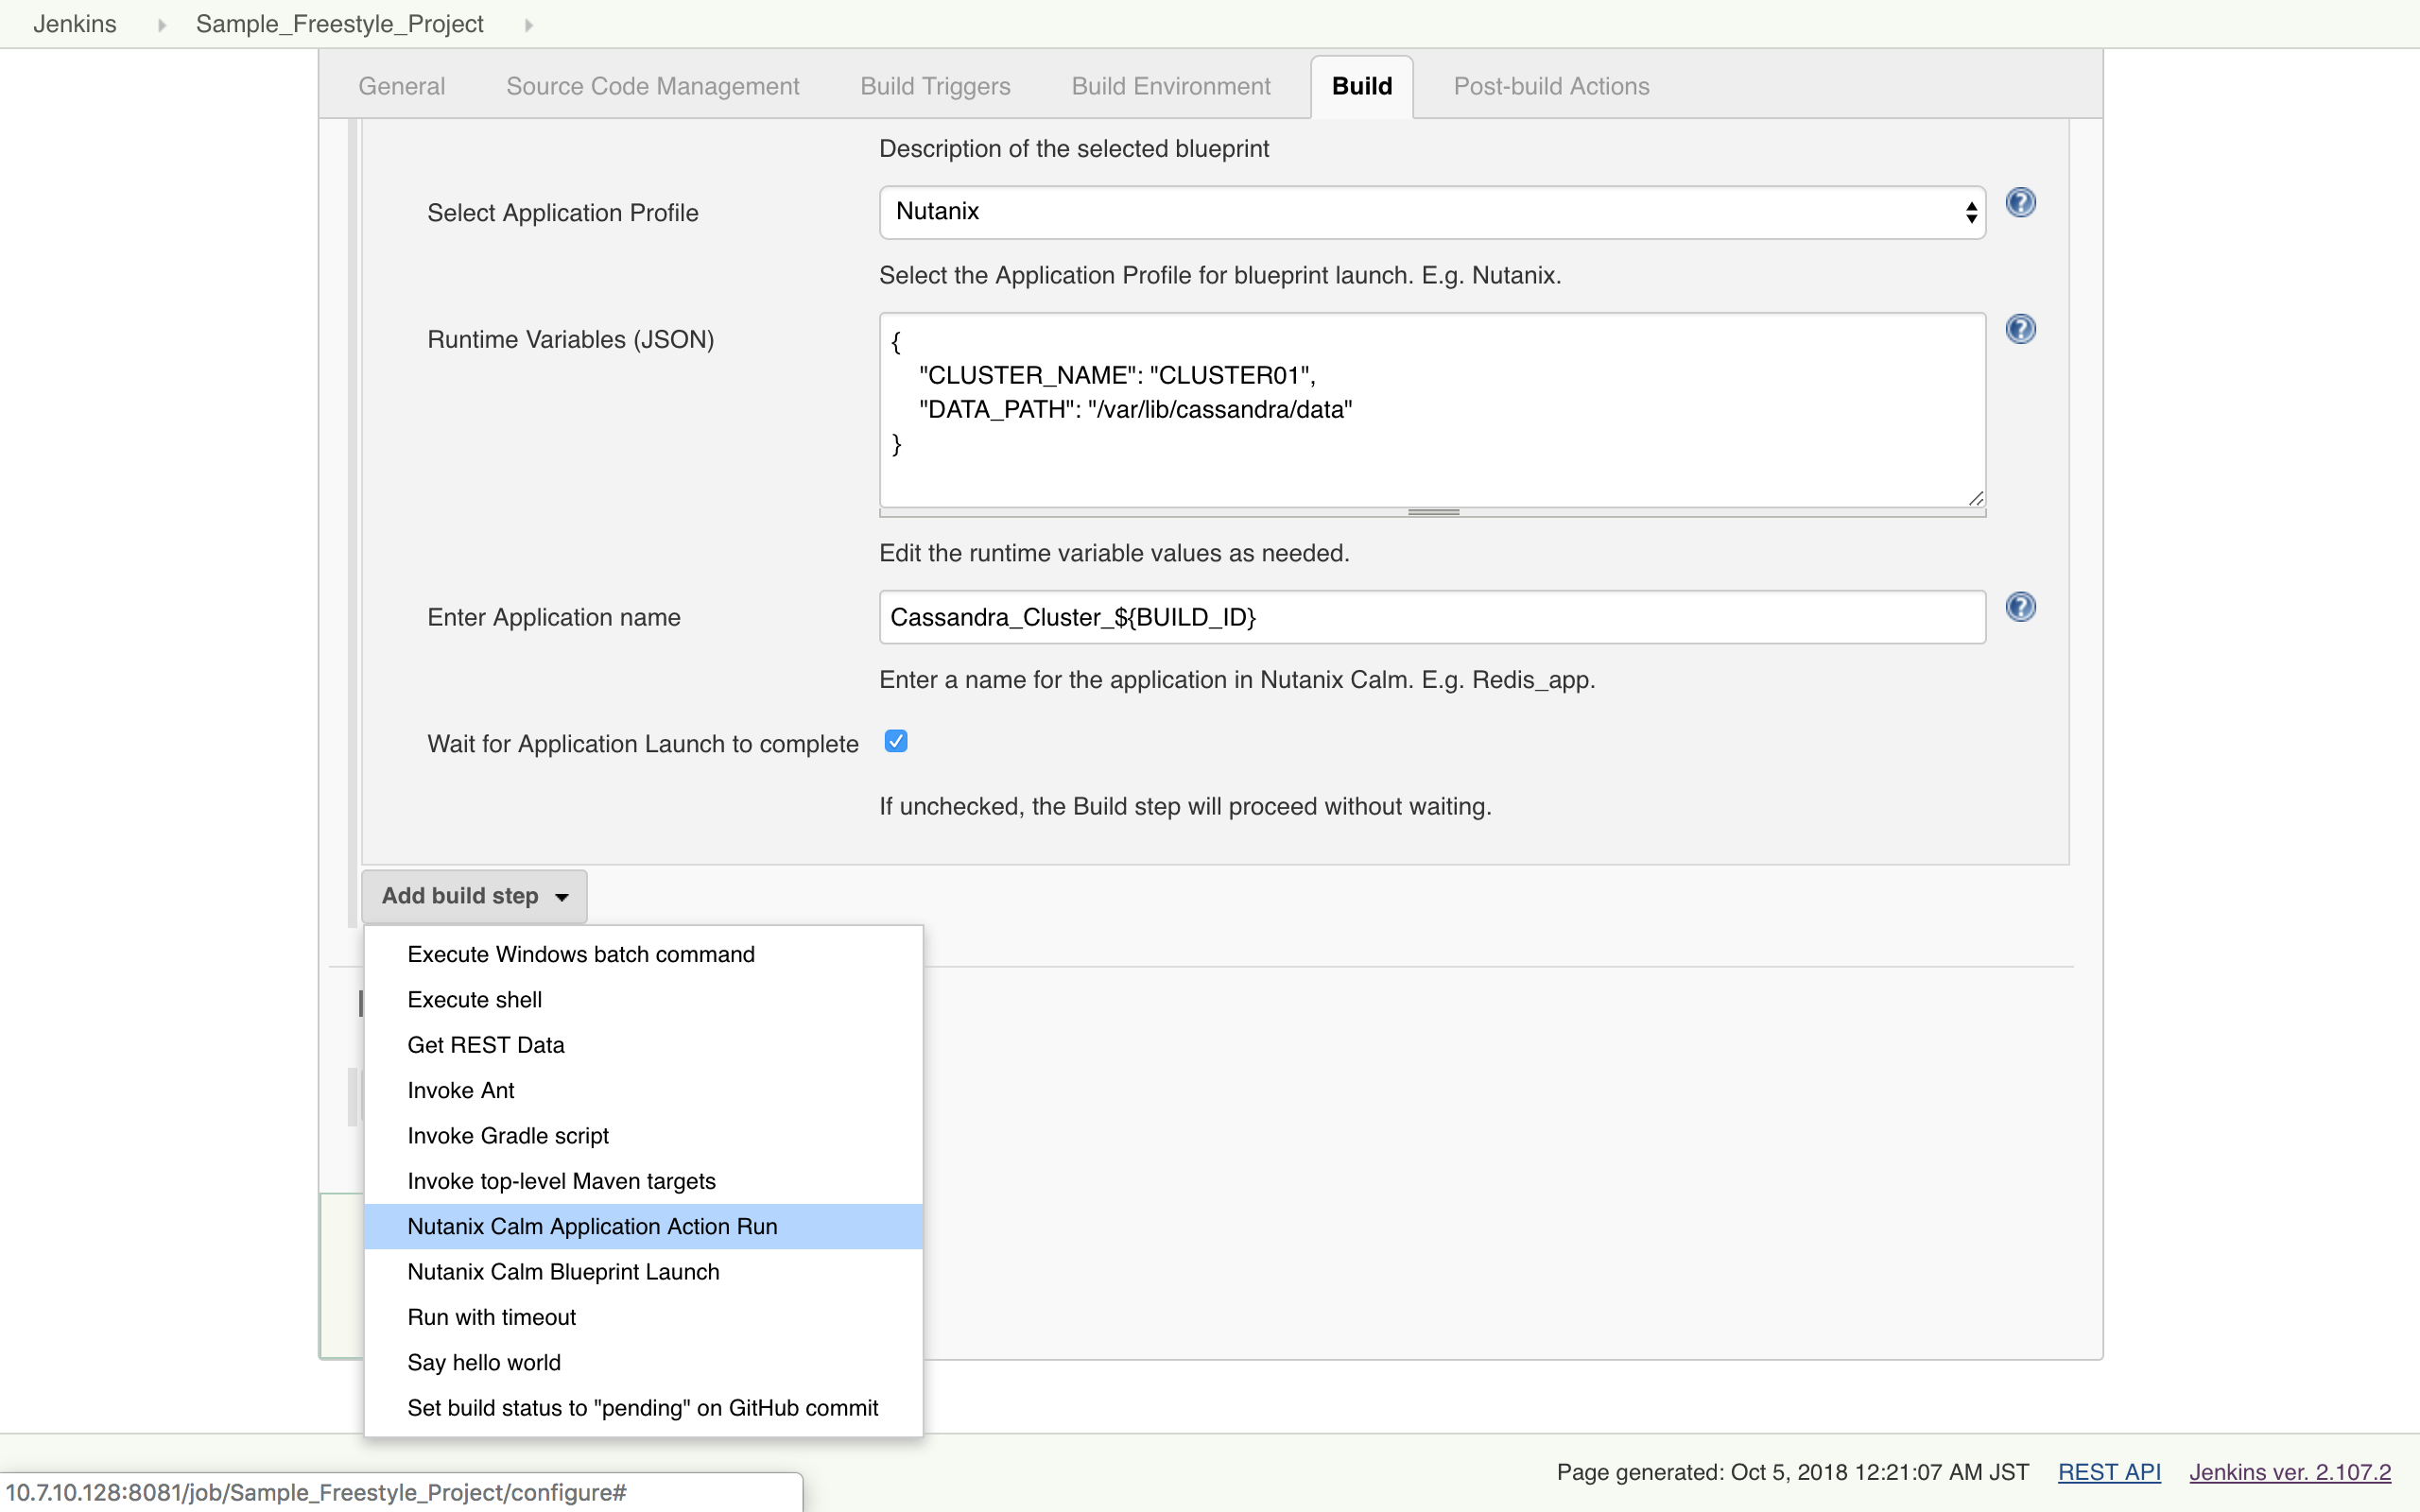
- To invoke actions defined in the Calm blueprint/ application, click on Add Build Step. Select Nutanix Calm Application Action Run.
- In the section
-
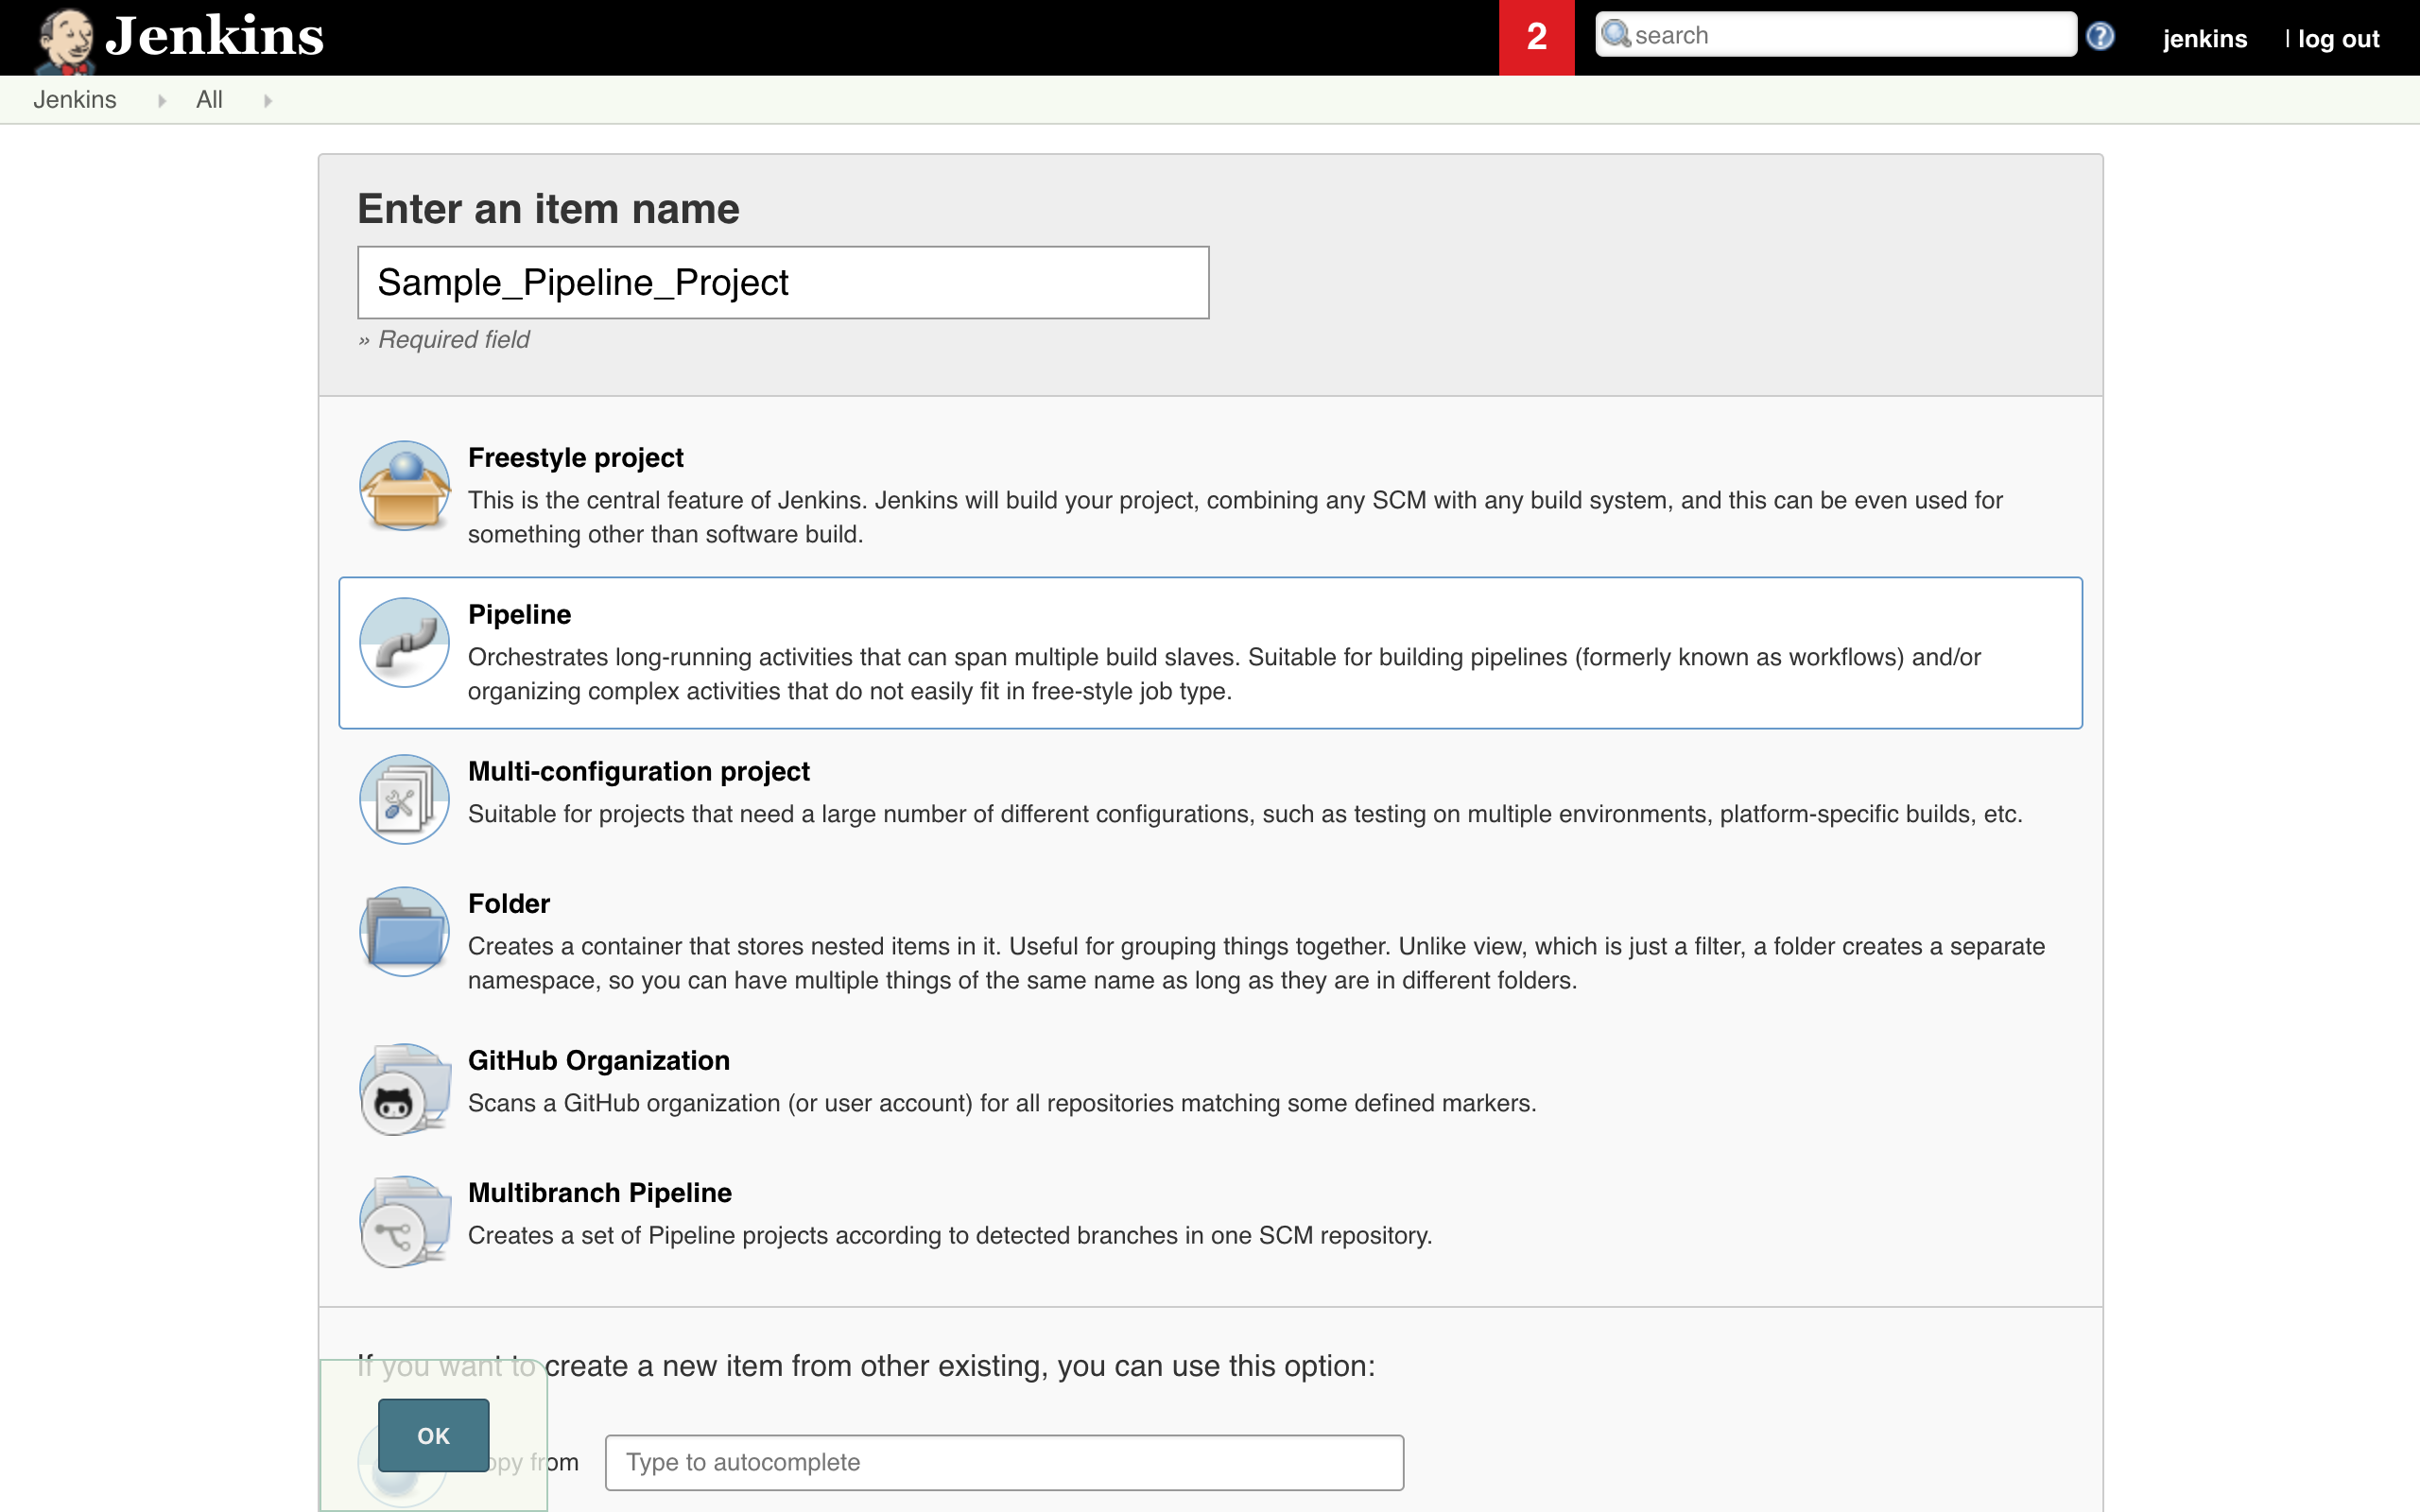
Click on New Item. Select Pipeline. Enter an item name. Click OK.

-
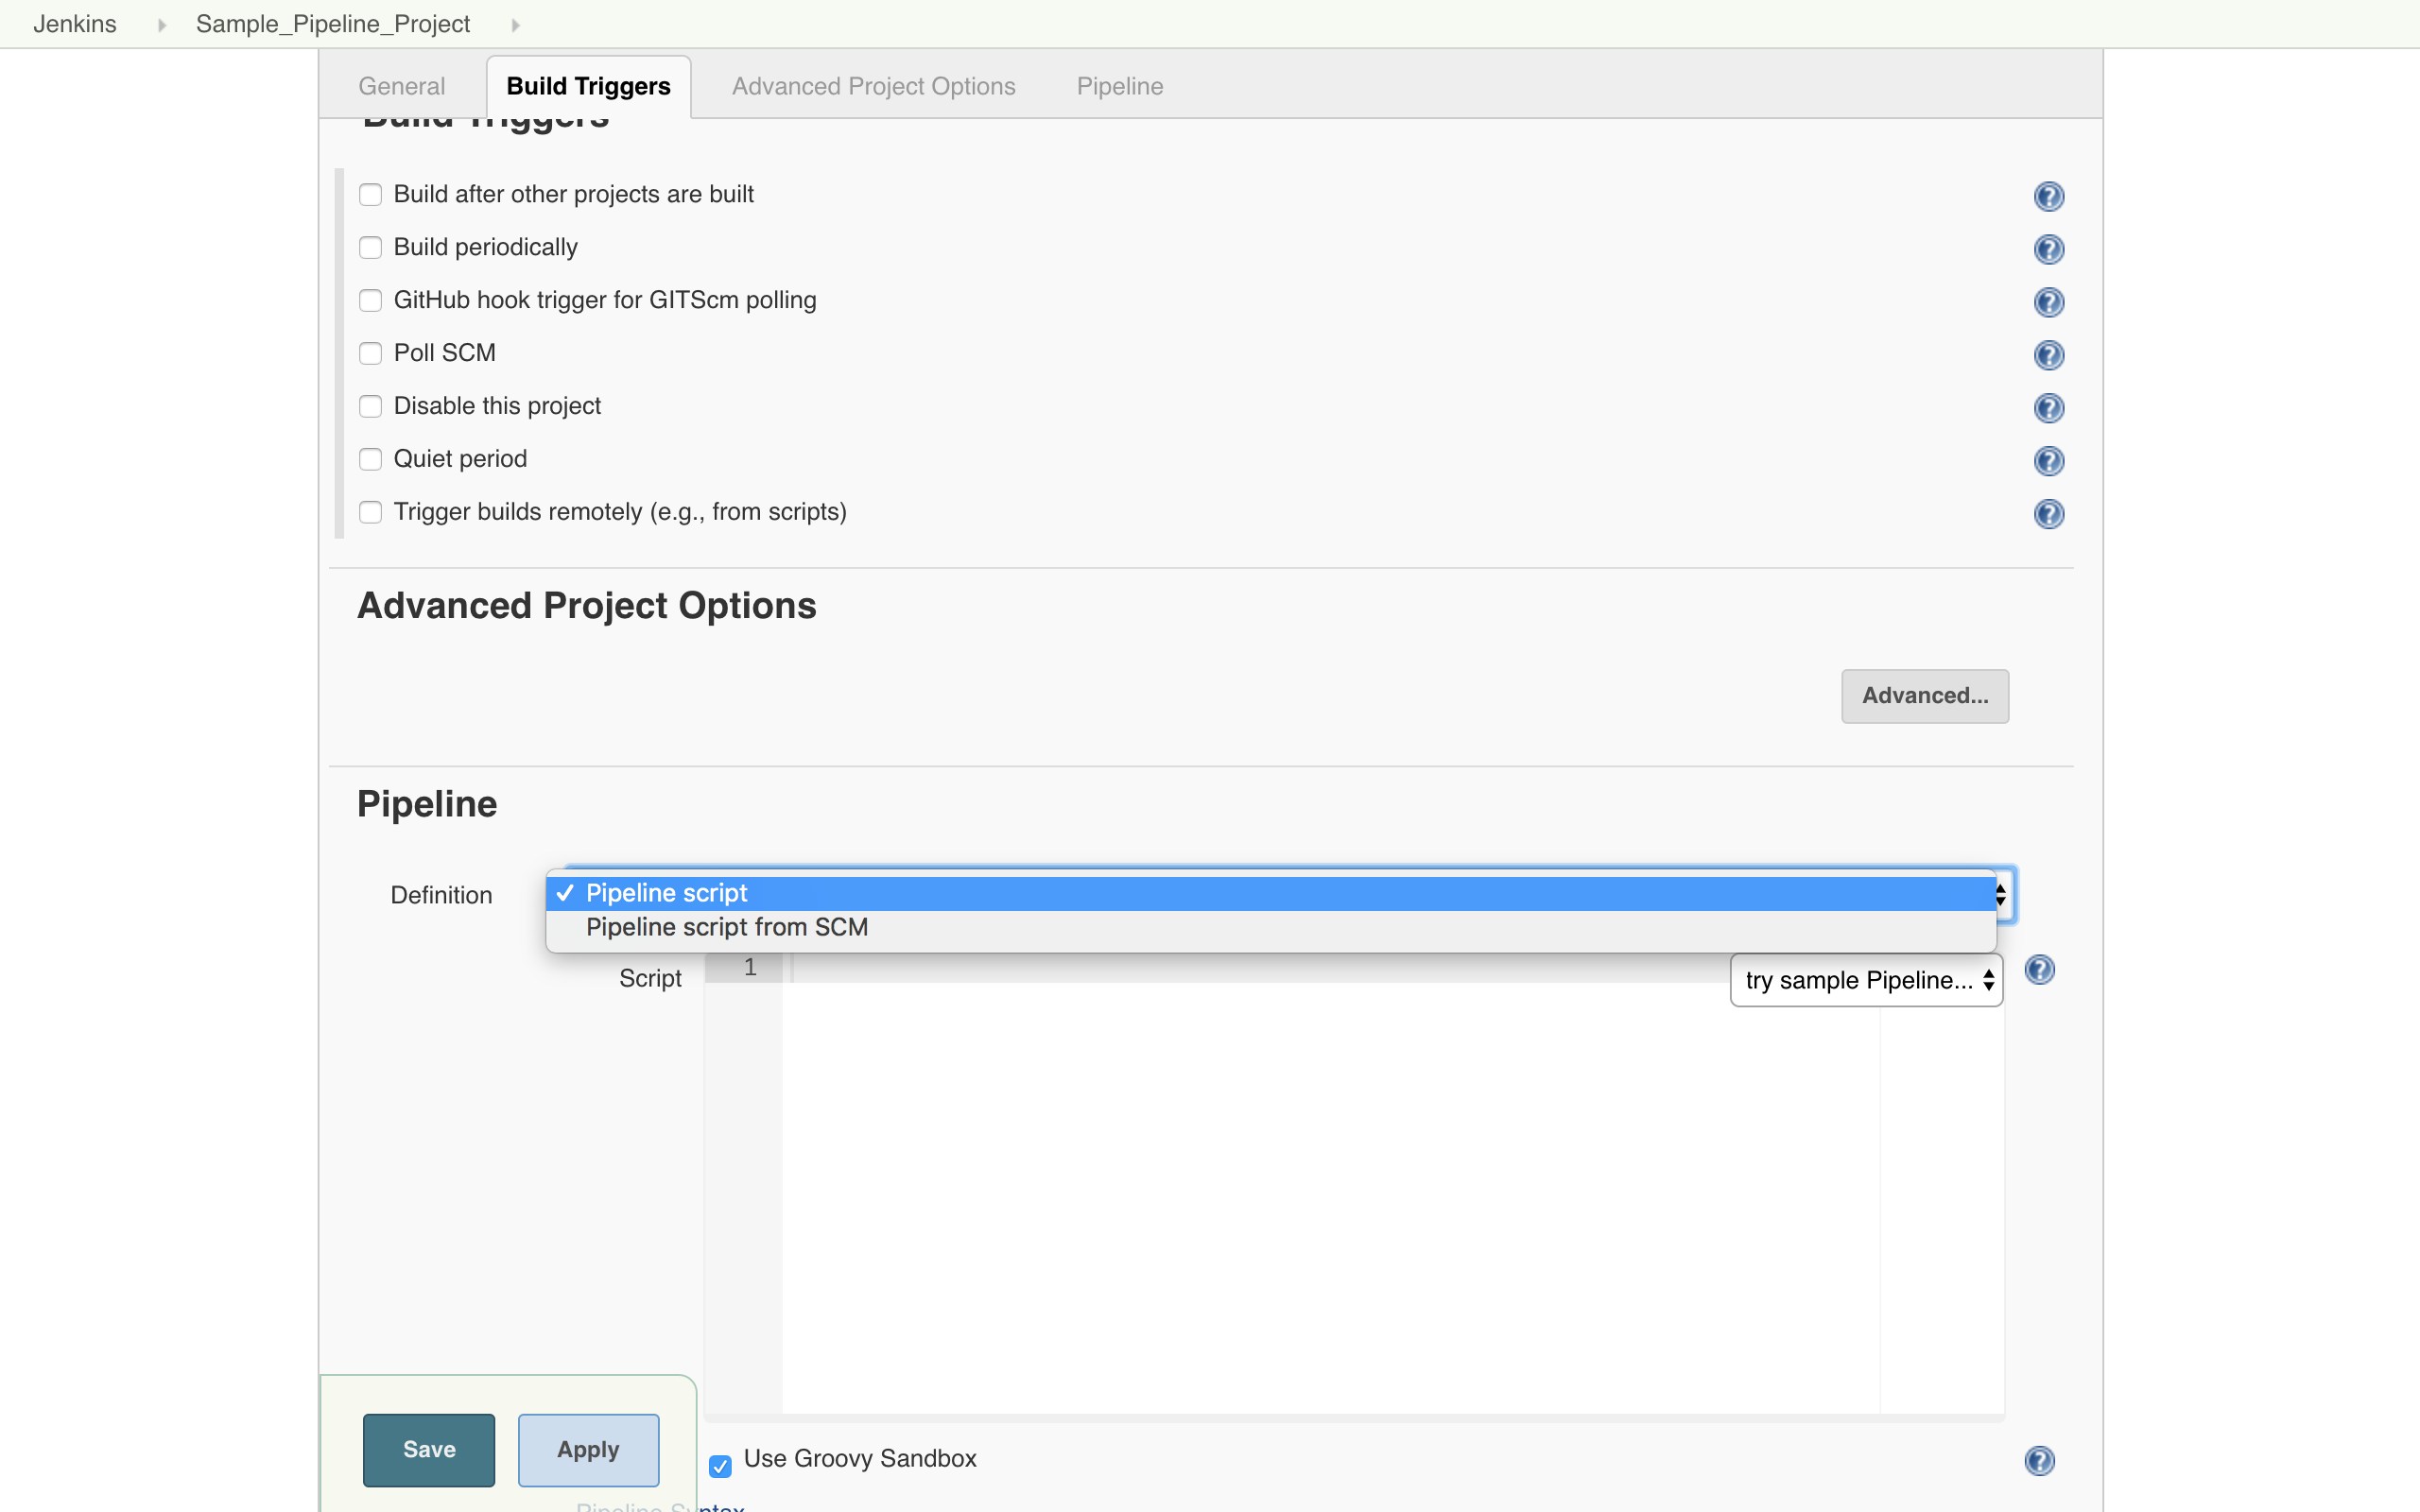
Select pipeline script in Pipeline Definition section and to generate the pipeline syntax click on the Pipeline Syntax at the bottom.
-
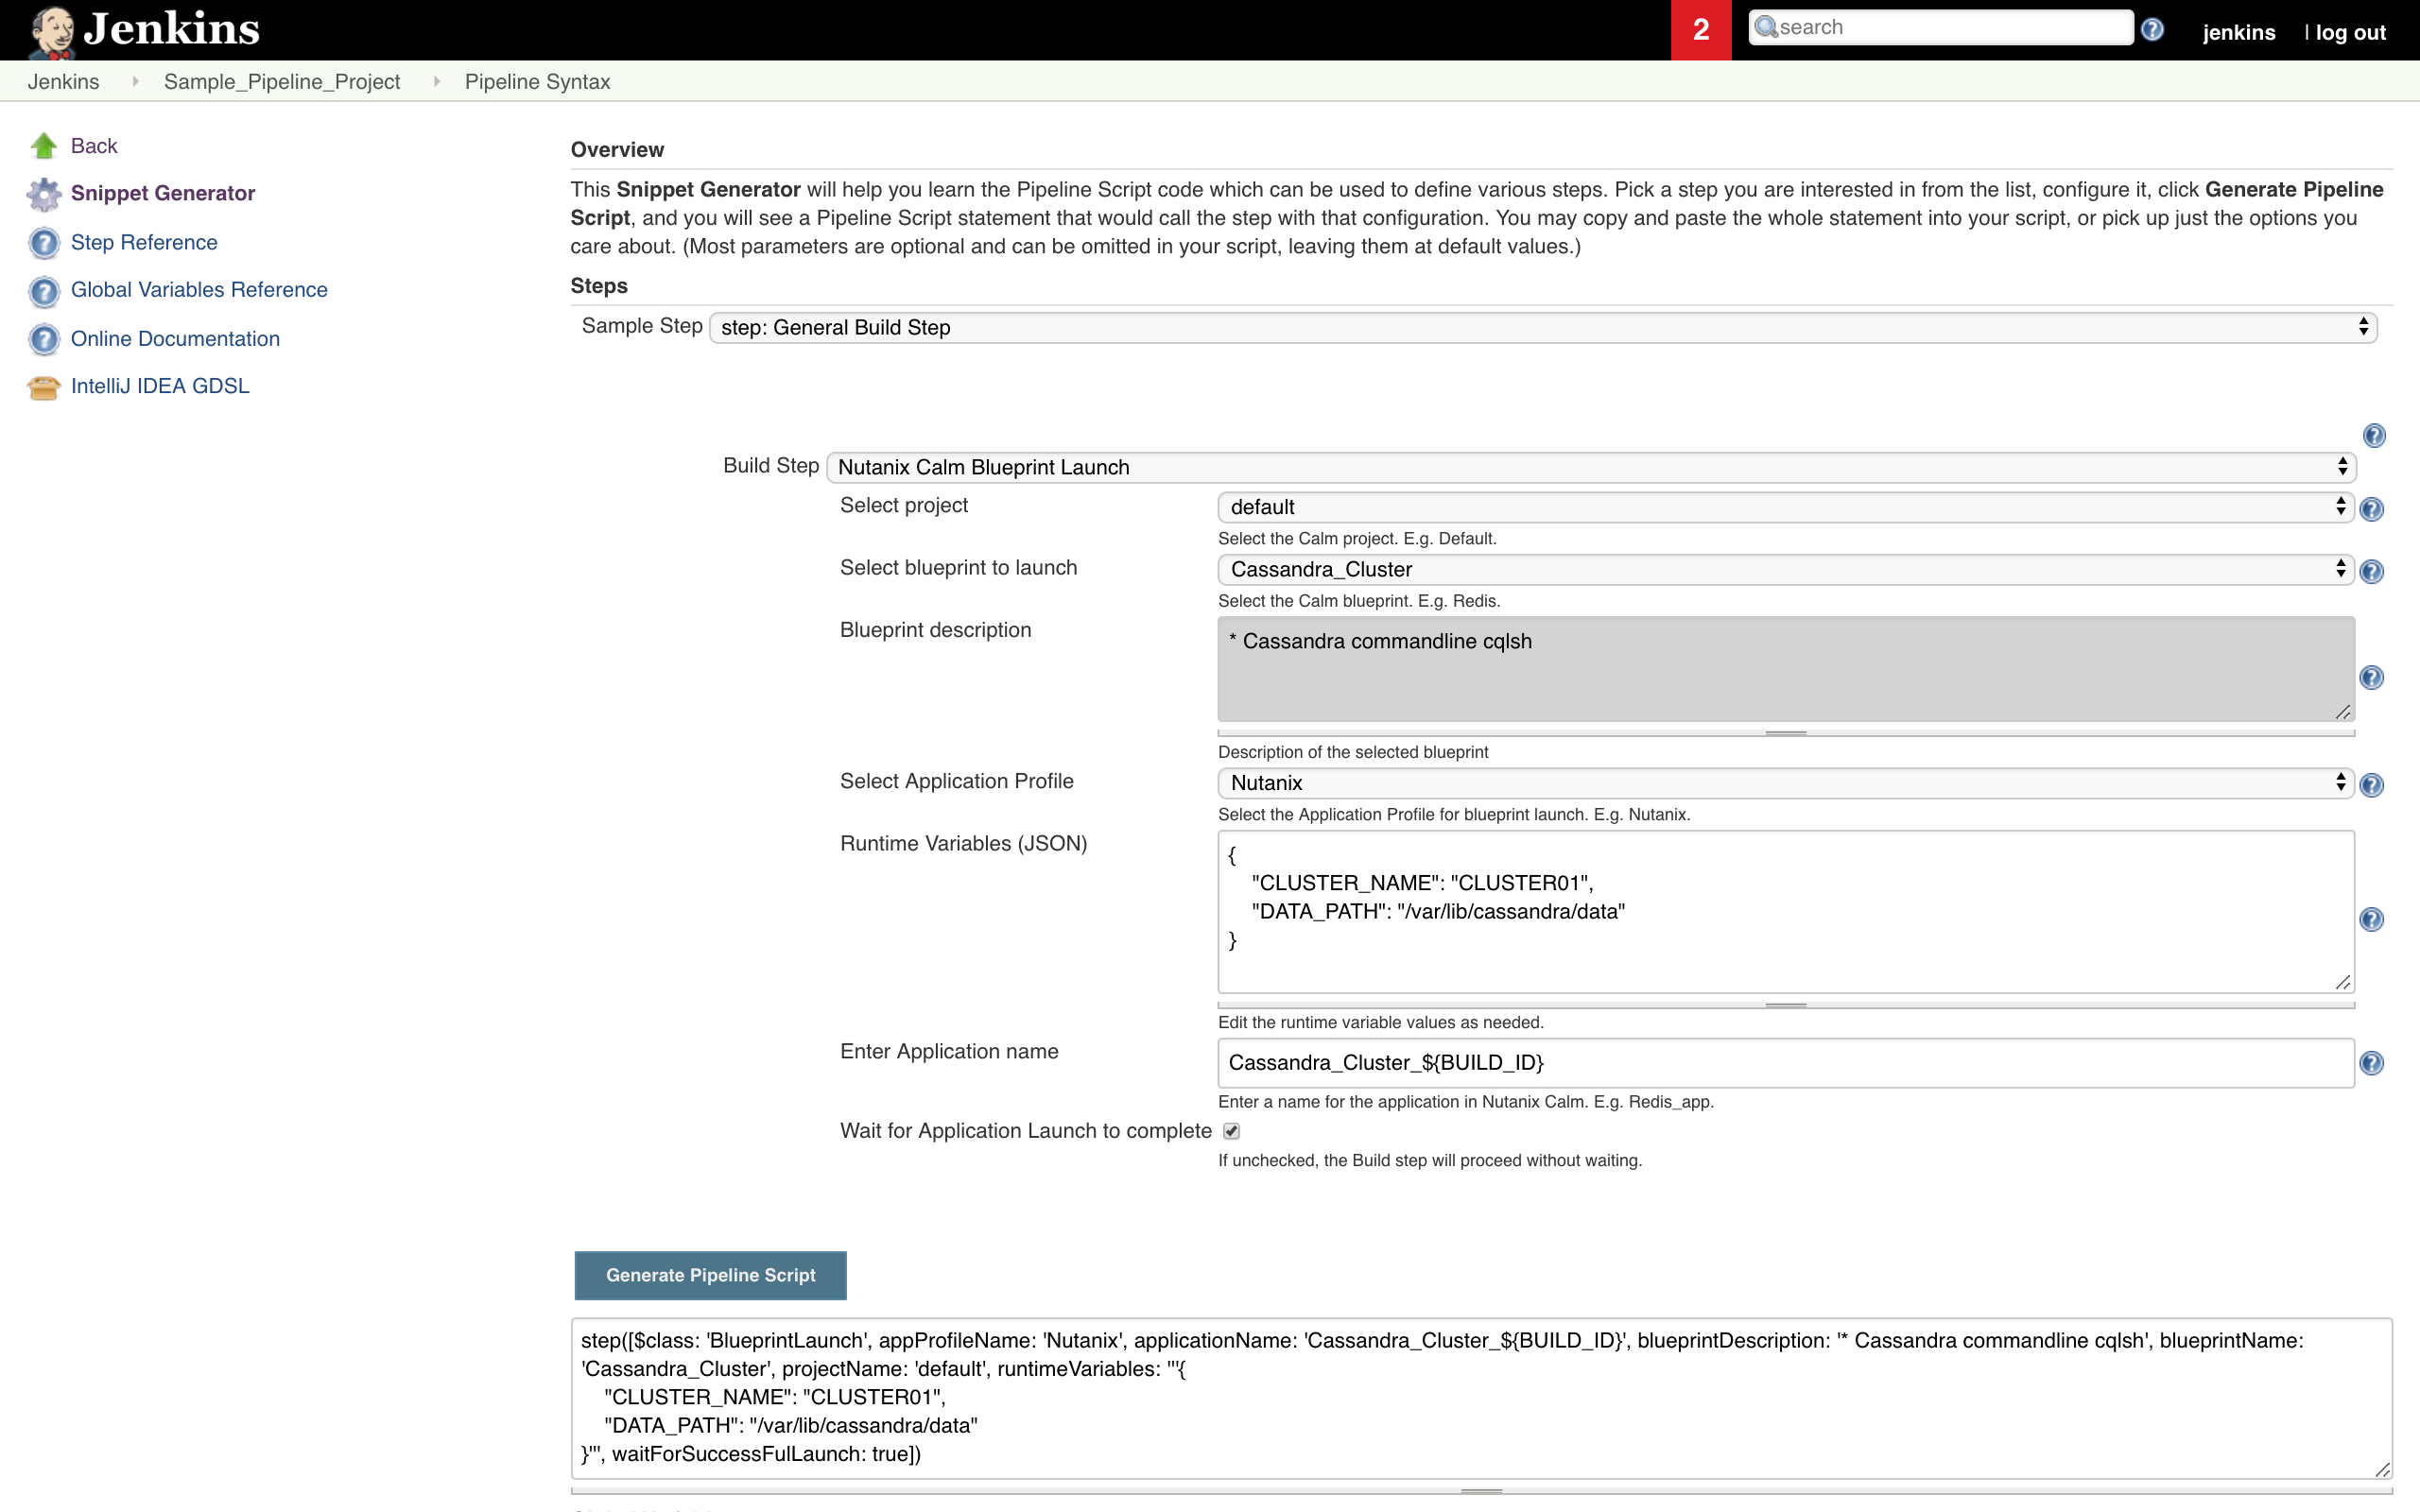
In the Pipeline Syntax window, select the General build Step in the Sample step dropdown.
- Select Nutanix Calm Blueprint Launch in Build Step
-
In the section
- Select the Calm project.
- Select the Blueprint to launch. Blueprint description is fetched and displayed.
- Select the Application profile.
- Modify the values for runtime variables available for that application profile.
- Provide an application name. BUILD_ID is appended by default to the application name to uniquely identify it in Calm.
- Select the option if you want Jenkins job to wait for blueprint launch to complete before proceeding to the next step.
- Click on Generate Pipeline Script.
-
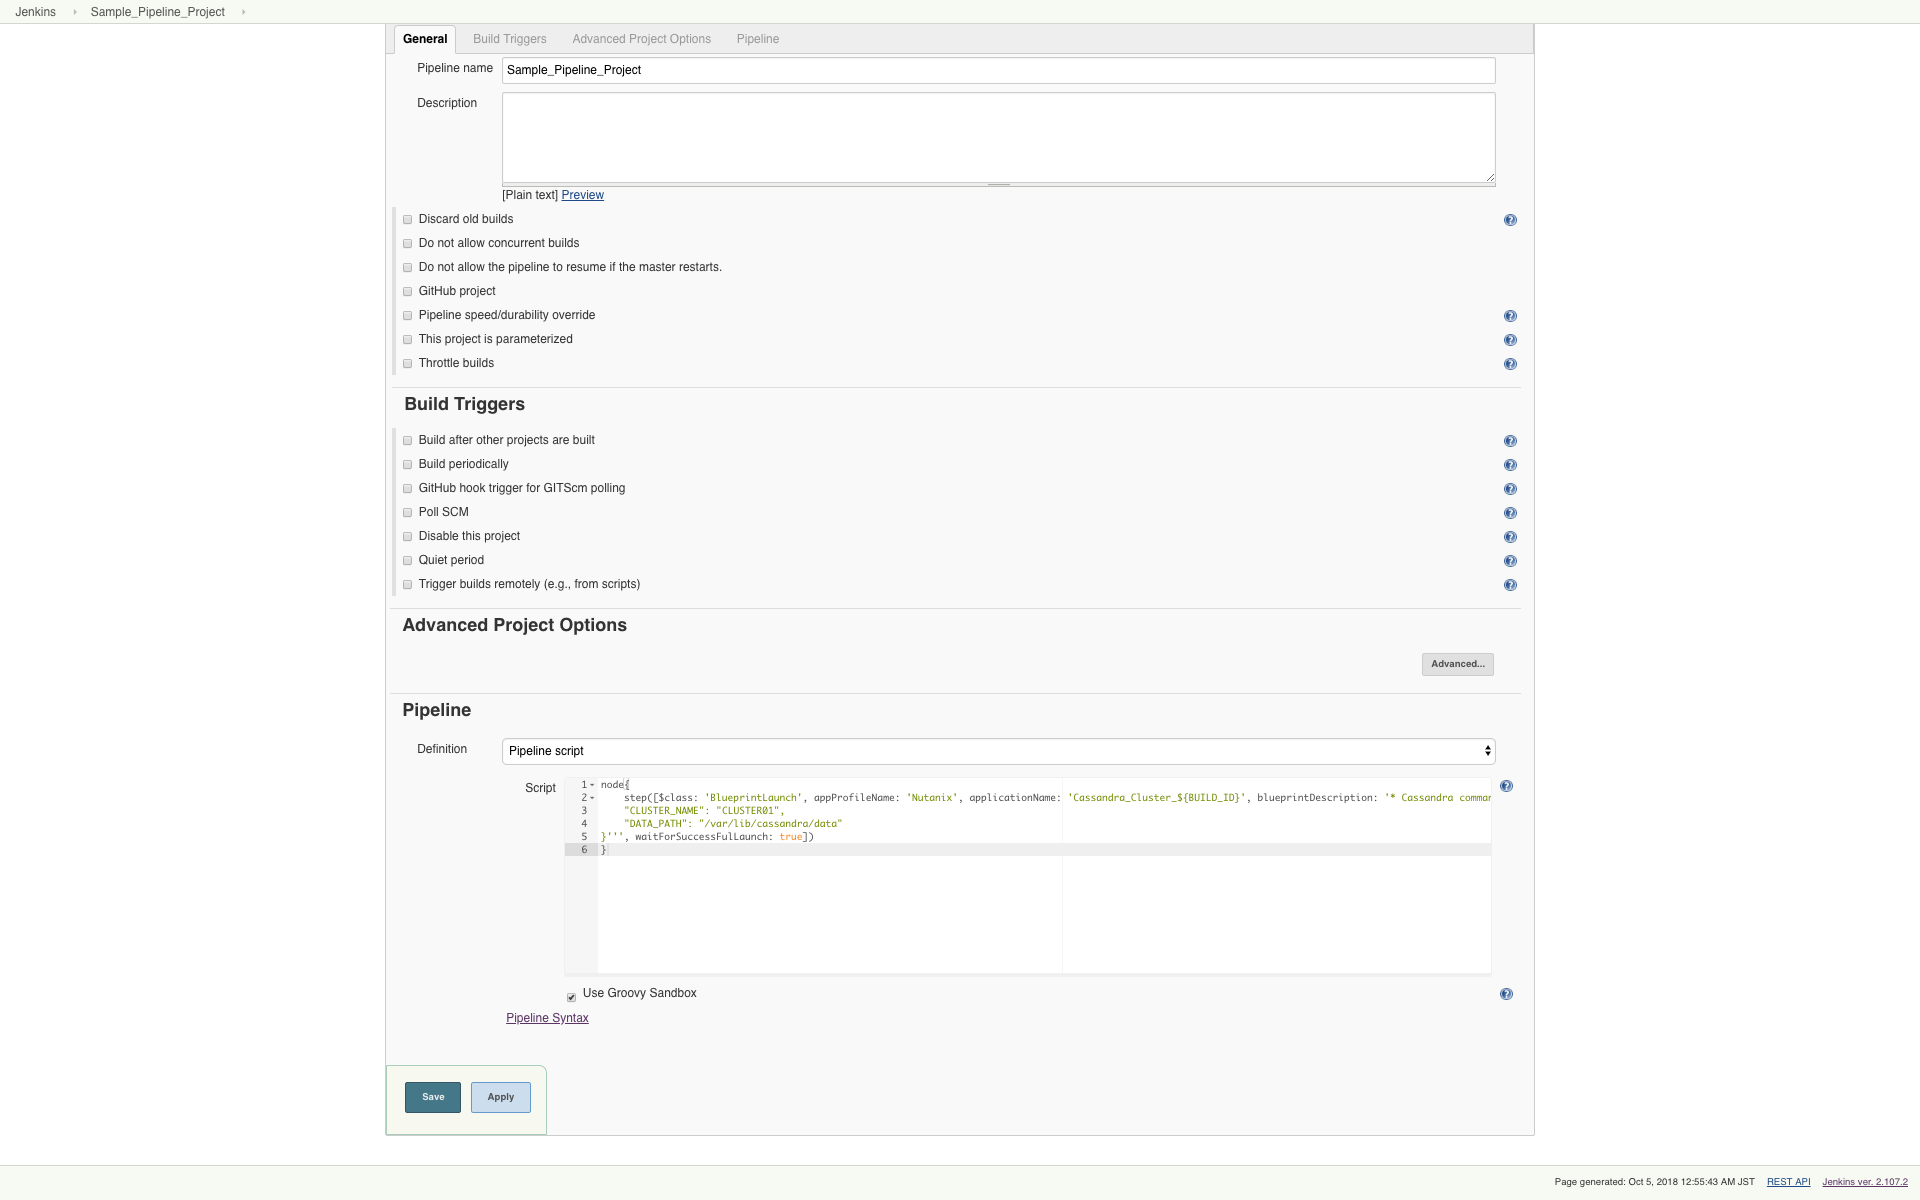
Copy and paste the text in the box below into the pipeline script box in {} under node.
-
Follow same steps to generate the pipeline syntax for Nutanix Calm Application Action Run.

-
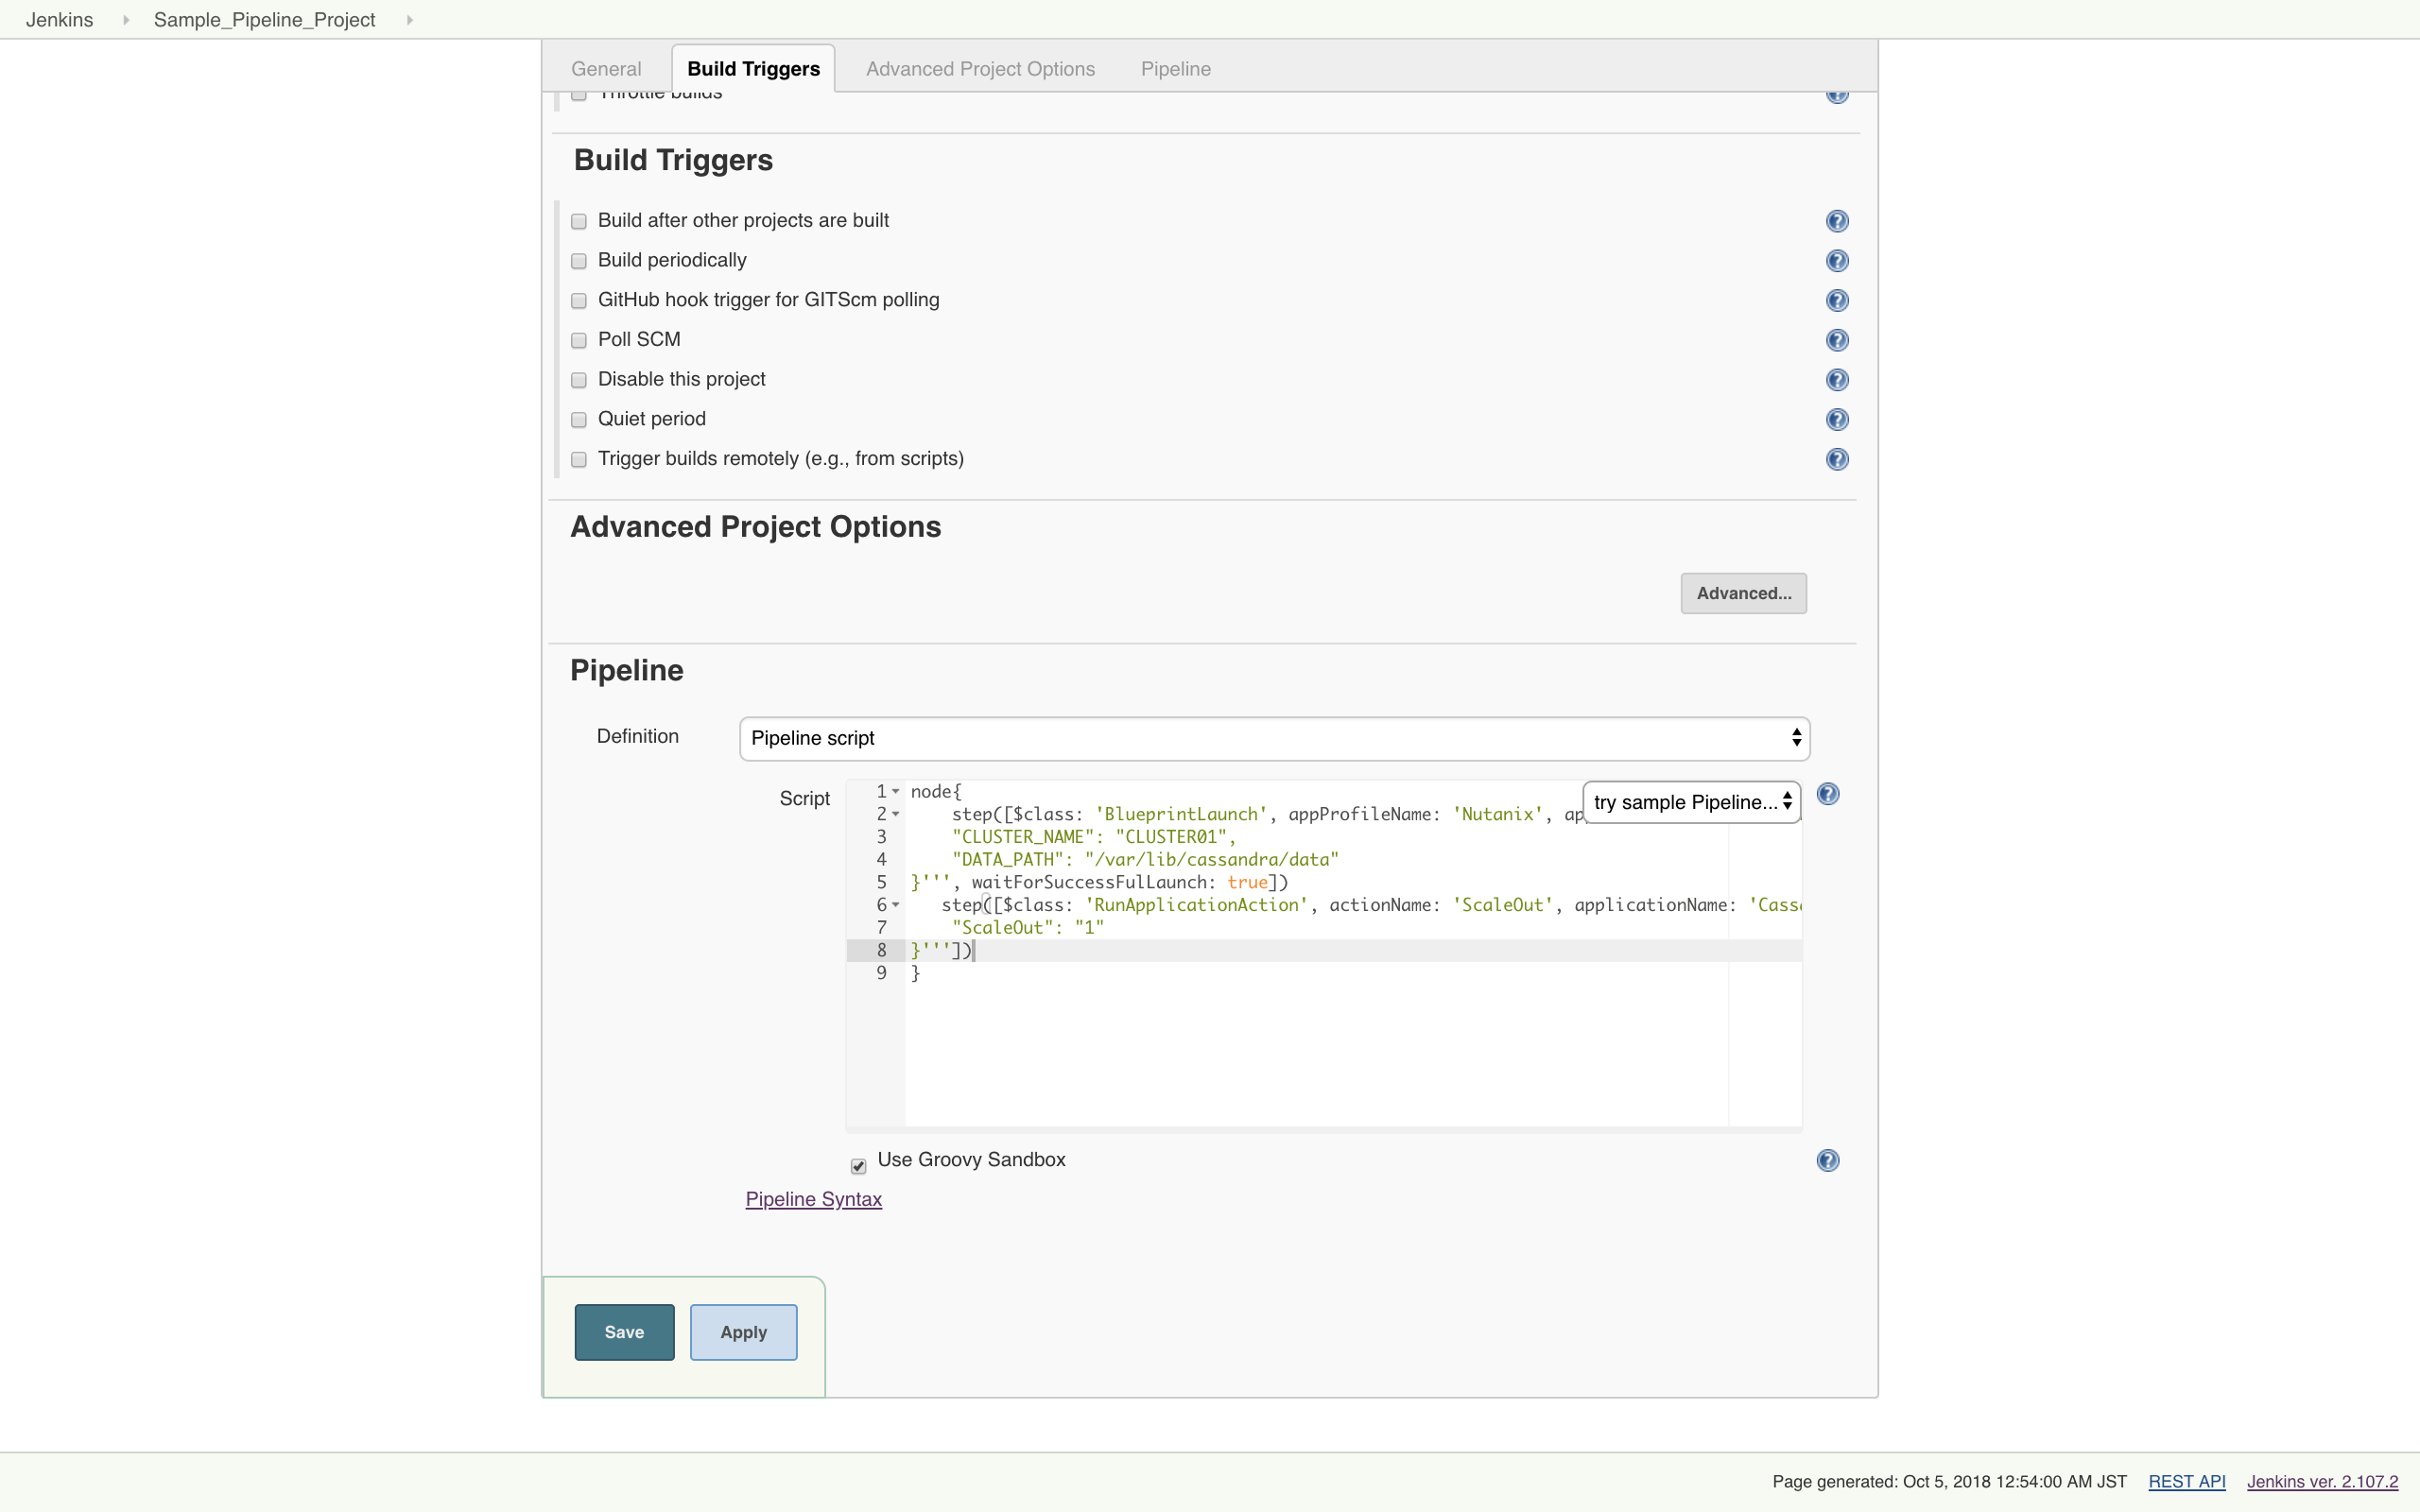
Copy and paste the text in the box below into the pipeline script box in {} under node.
-
Click on Apply and then Save.
-
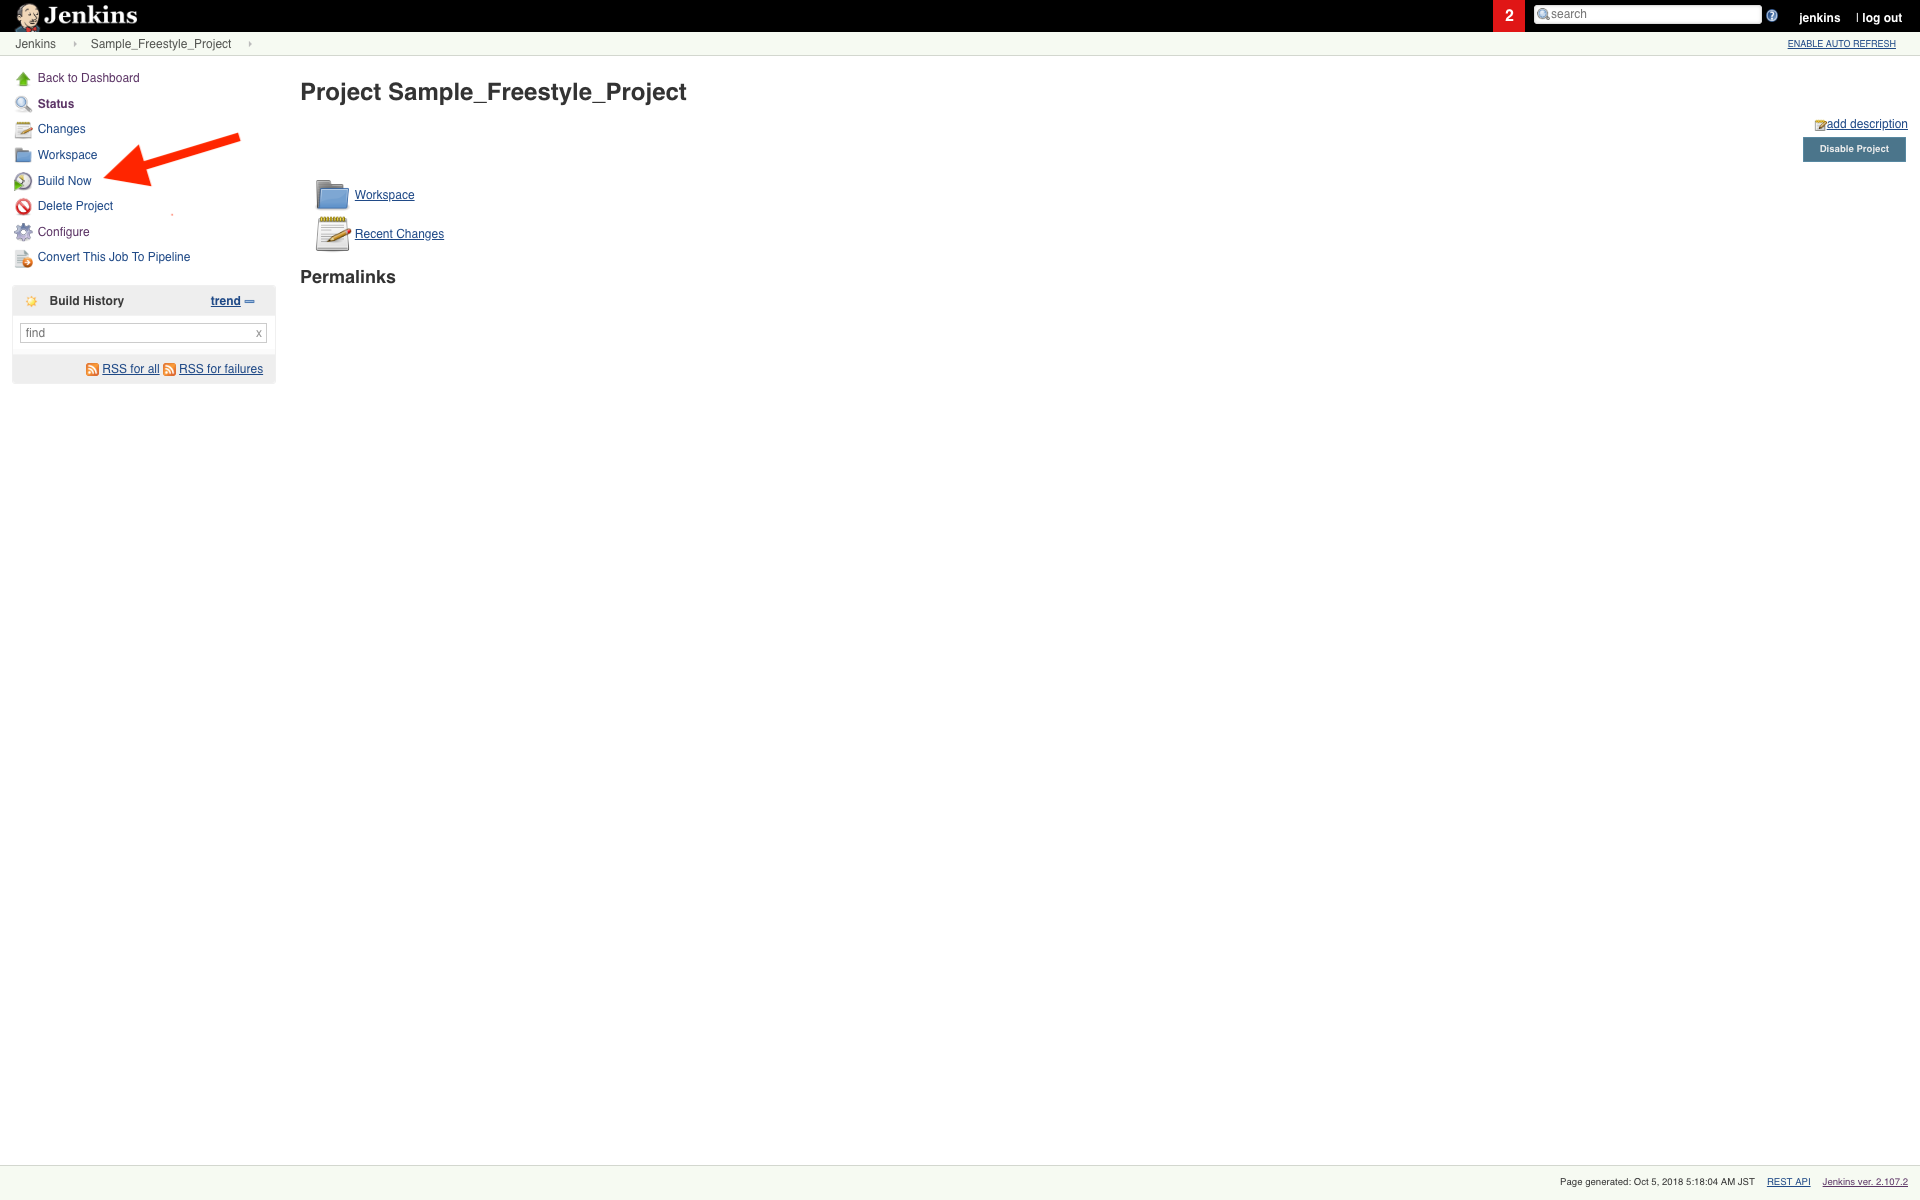
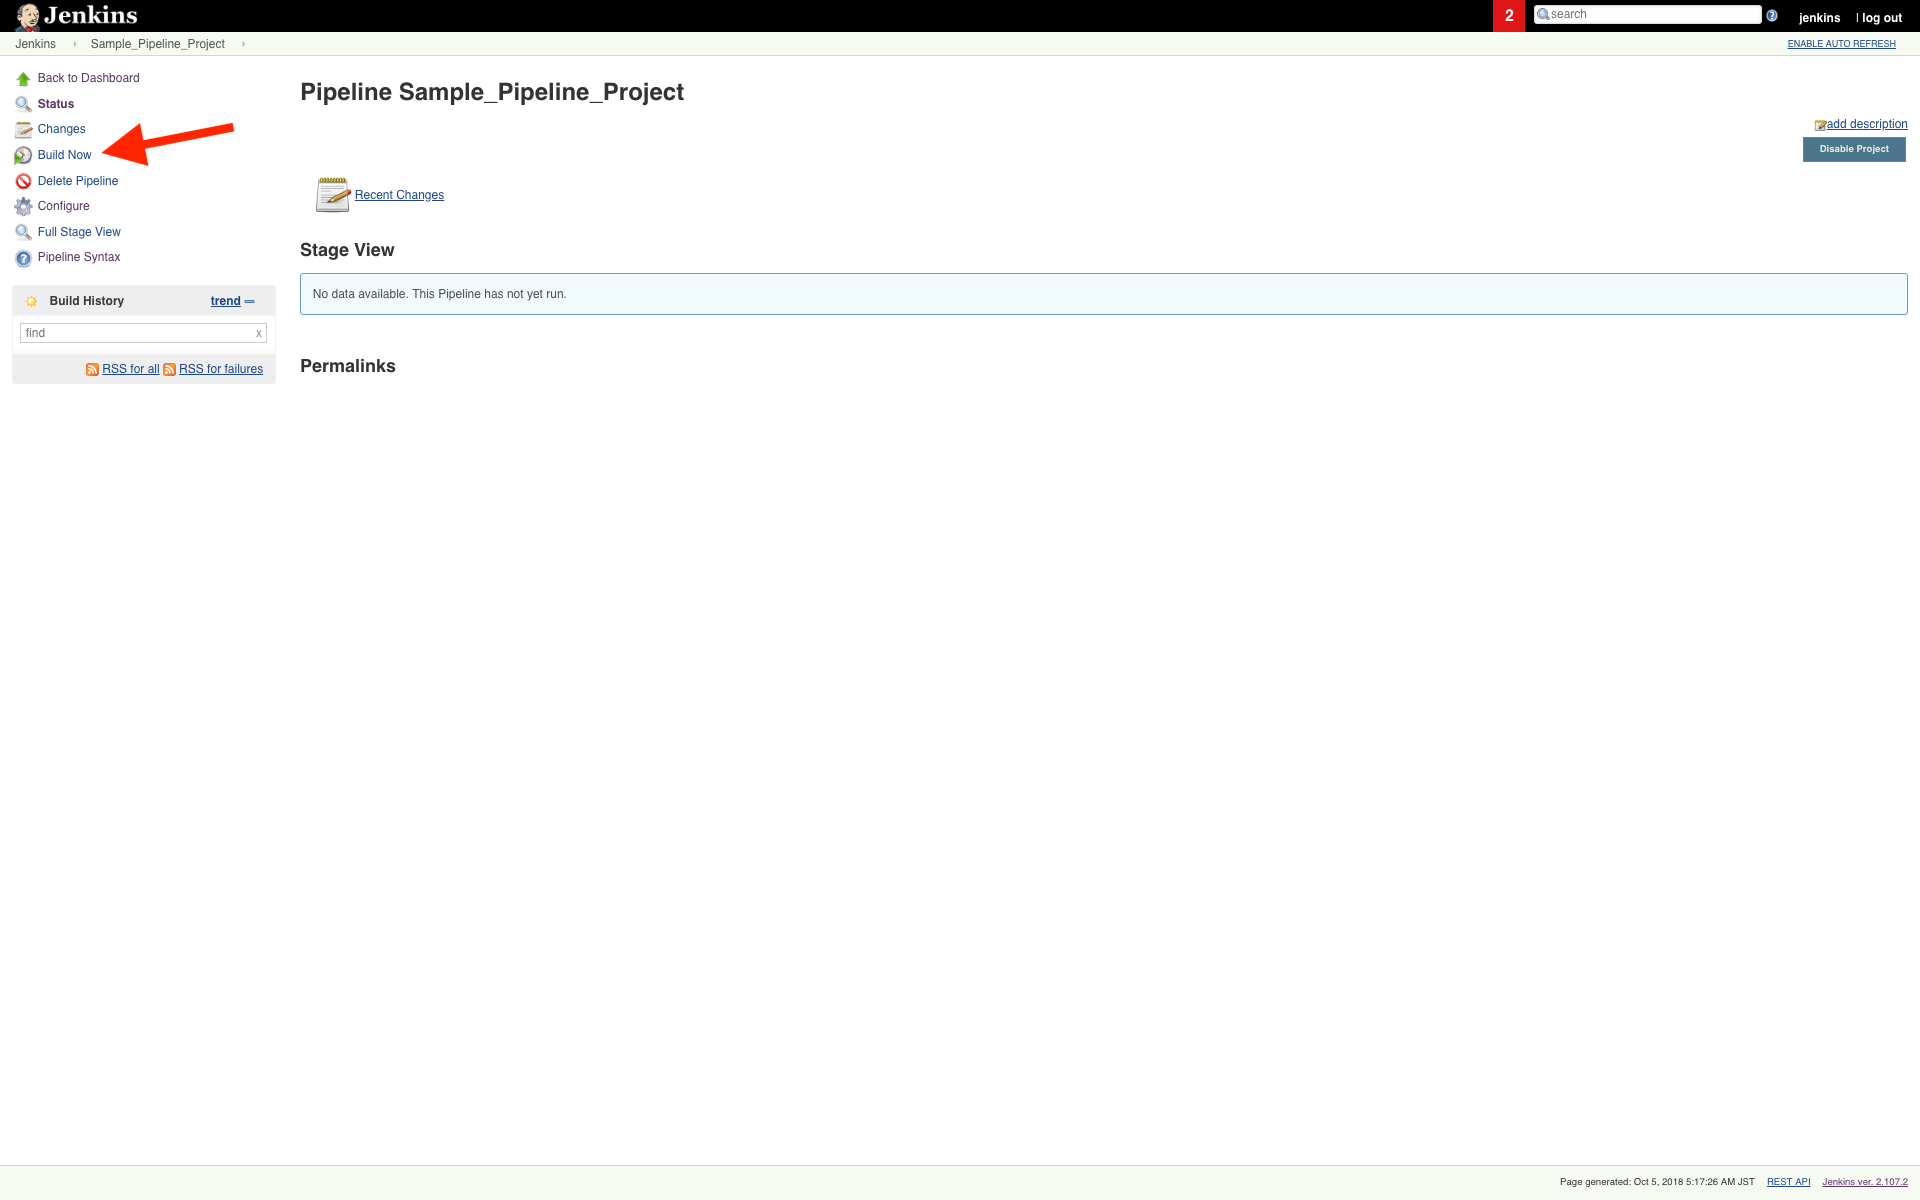
Now we can click on Build Now to run these build steps and then we can check the console output for this build.
-
We can also use Pipeline script from SCM in Pipeline Definition section
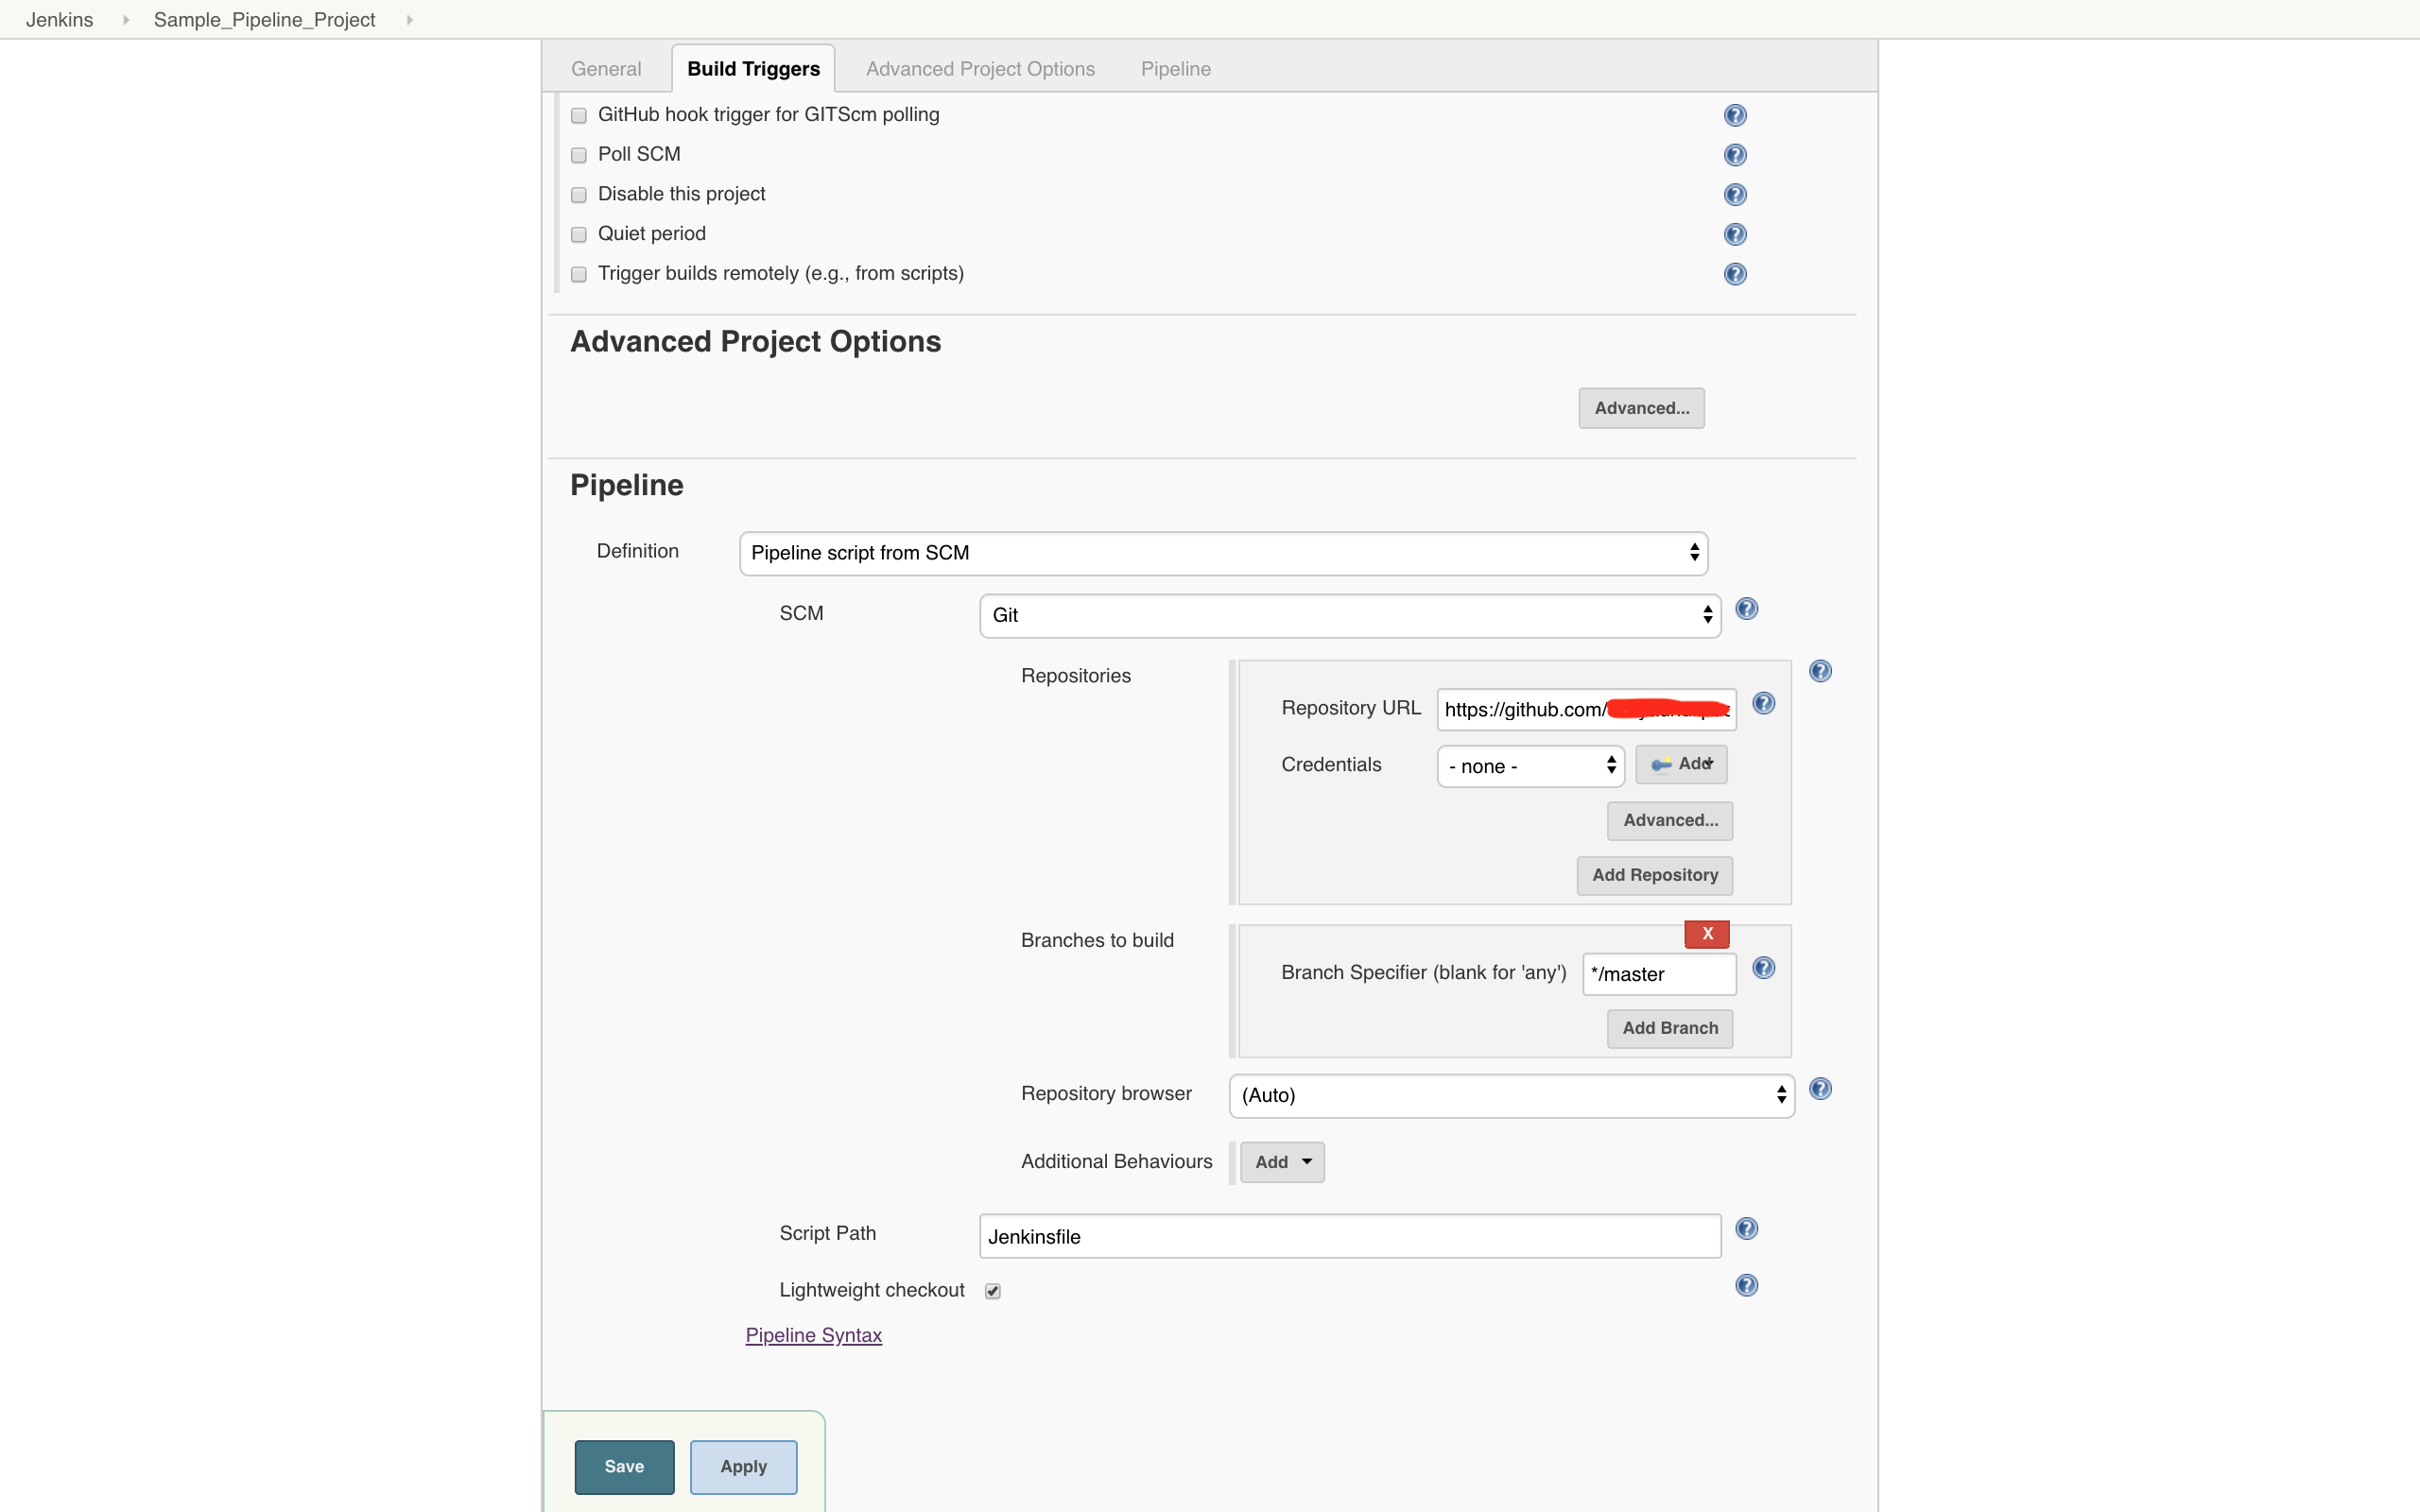
-
Please find the below mentioned pipeline/jenkinsfile syntax for our reference for Nutanix Calm Blueprint Launch and Nutanix Calm Application Action Run build steps.
-
We can copy paste the required pipeline build step script from Pipeline Syntax or we can use below mentioned syntax for the same.
- Nutanix Calm Blueprint Launch
step([$class: 'BlueprintLaunch', appProfileName: '<Enter Application Profile name>', applicationName: '<Enter application name>_${BUILD_ID}', blueprintDescription: '<Enter blueprint description>', blueprintName: '<Enter blueprint name>', projectName: '<Enter project name>', runtimeVariables: '''{ "<key>": "<value>" }''', waitForSuccessFulLaunch: <Enter true or false>])
- Nutanix Calm Application Action Run
step([$class: 'RunApplicationAction', actionName: '<Enter Action name>', applicationName: '<Enter application name>_${BUILD_ID}', runtimeVariables: '''{ "<key>": "<value>" }'''])
- NOTE: We need to put the required build steps pipeline script in node{} for pipeline/jenkinsfile invocation.
